Validation-only deployments catch errors early, support an Agile release approach, and can significantly shorten the final Production deployment. With our latest update, Gearset now fully supports validation-only deployments.
Validating saves time
With large or complex Salesforce orgs, running unit tests and deploying changes can take hours. If anything goes wrong, it can be a slow process to fix the errors and rebuild the package. Validating your packages pre-deployment not only saves time but also spots errors early.
If you use Change Sets you’ll be familiar with the process of creating a validated Change Set, in which you get to test the success or failure of your changes before making the deployment. You may also be able to avoid re-running your unit tests by using the quick deployment feature currently in pilot. Validation is a great way to manage the release process and take some of the risk out of real deployments.
Stop flying blind: How Truckstop brought clarity to a complex org
Full support for validated packages in Gearset
We released initial support for creating validated packages in Gearset. These are our equivalent of a validated Change Set, allowing you to test your package without deploying, and pre-run your unit tests.
You can now take advantage of the benefits of validated packages from the Validation history tab in Gearset.
Creating a validated package in Gearset
NOTE: Gearset’s comparisons have had an upgrade! We’re updating all our blog posts with the new UI images — but in the meantime, you can learn more about what’s changed.
Let’s run through an example of how to create and deploy a validated package with Gearset. If you’d like to follow along with these steps to deploy a validated package, start a 30-day trial of Gearset free of charge today.
1. Run a comparison between two orgs, and select the objects you want to include in your deployment package
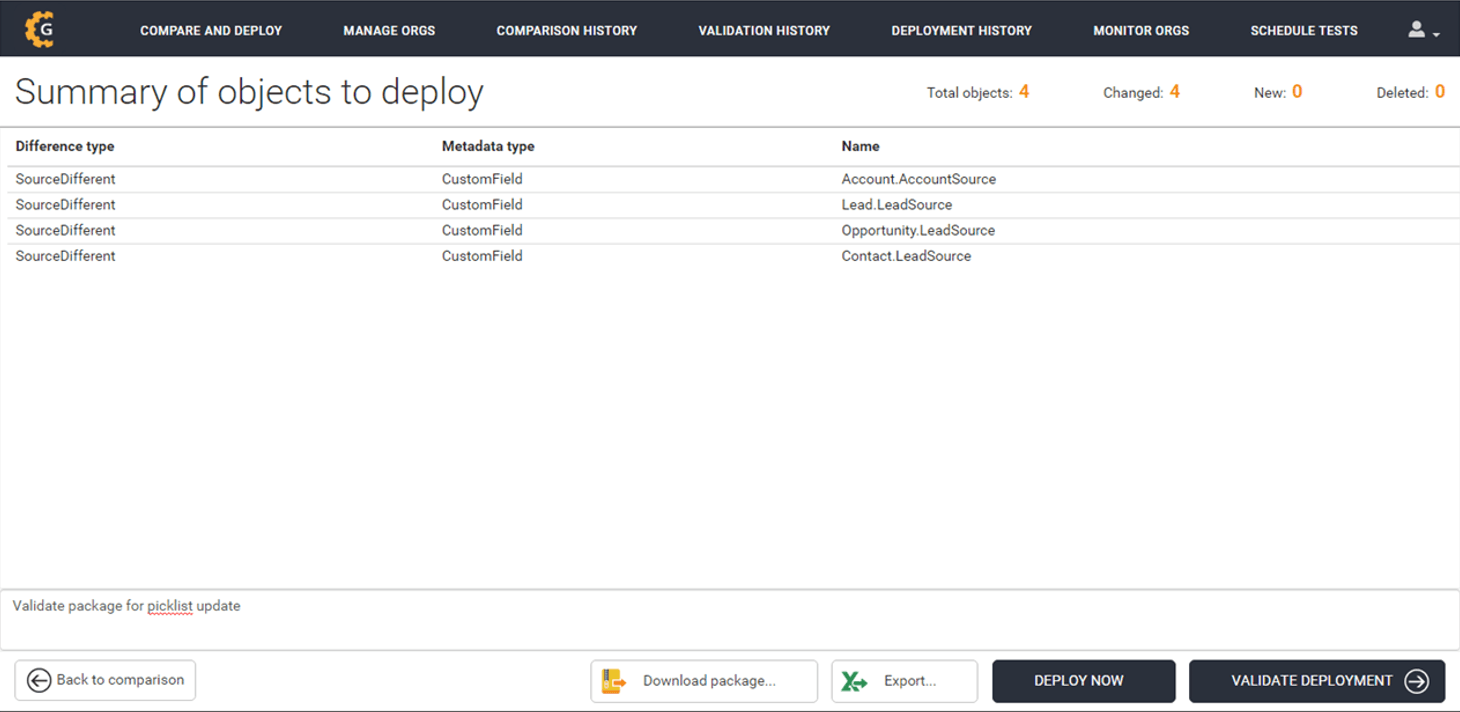
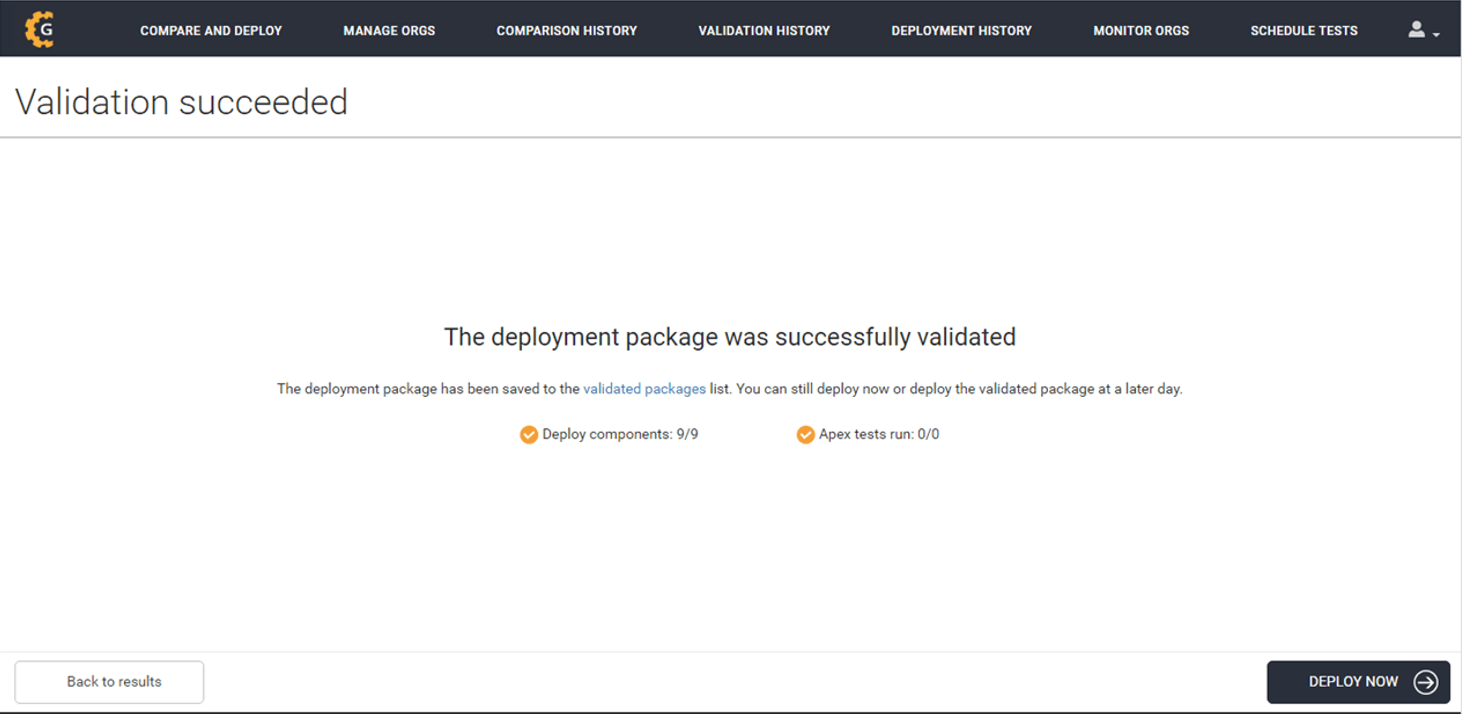
2. Click Validate deployment to begin the validation process. Once your validation succeeds, you’ll get a summary report and a link to your validation history
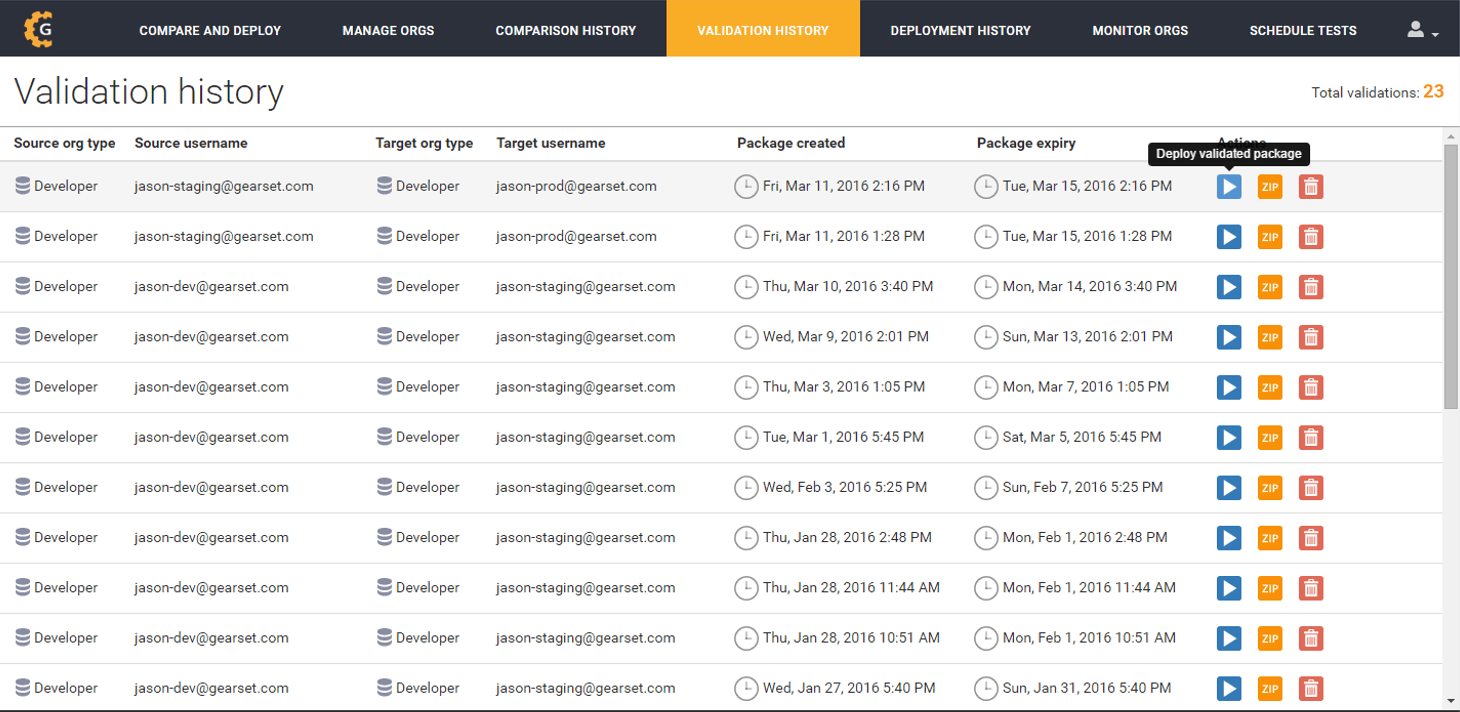
3. The Validation history page stores a list of all of your successfully validated but undeployed packages. Select the package you want, and click Deploy validated package
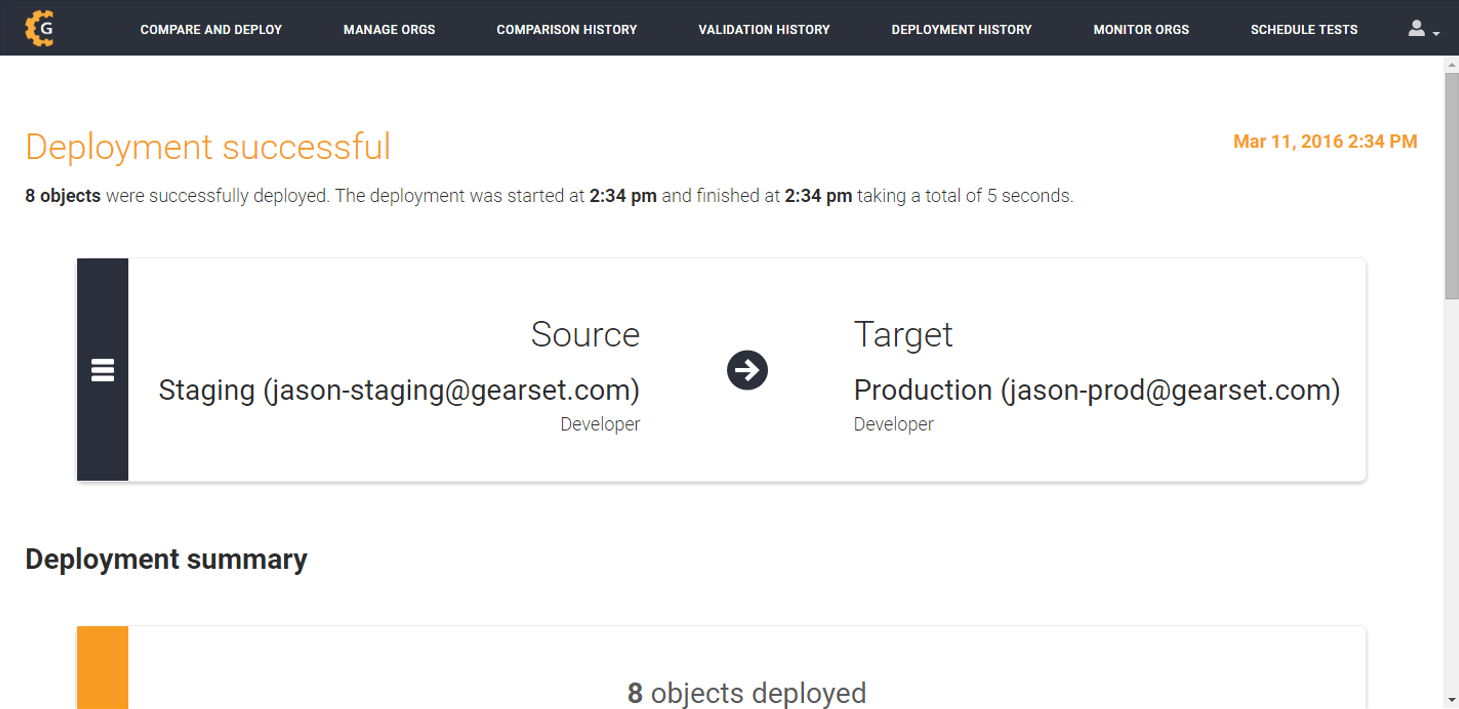
4. If your package has not expired, Gearset will try to utilise quick deploy to avoid re-running your unit tests. Once the deployment succeeds, you’ll get the usual deployment report saved to your deployment history
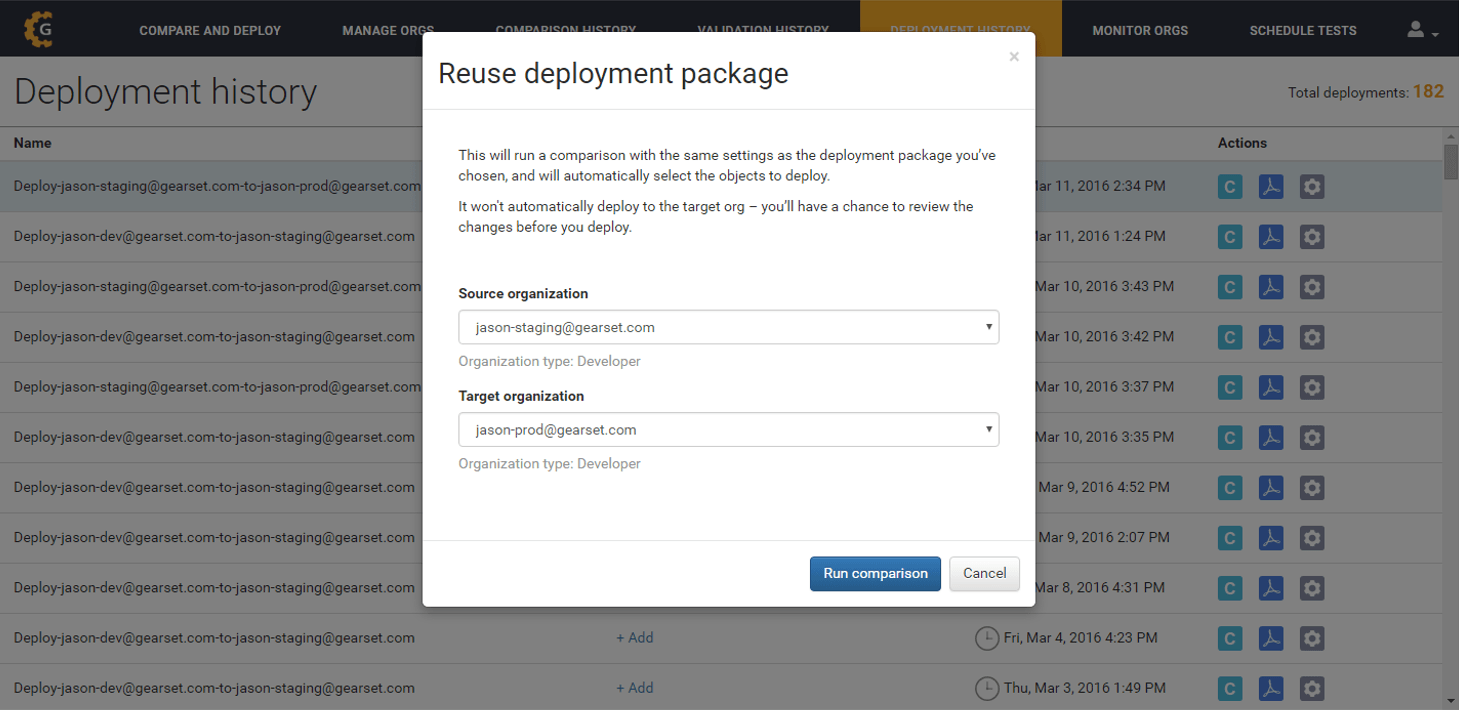
Top tip: if you’re moving a package through orgs as part of a deployment pipeline, select Clone package (find out more about cloning packages) to automatically clone your inbound package. Chose a new source and target org, and Gearset will run a comparison and select the same object types for deployment.
What happens if I deploy a package that has expired?
Salesforce enforces a 96-hour limit on the validity of unit tests. If you deploy a package outside of this window, your unit tests will re-run as if you were running a full deployment.
The longer you leave your package without deploying, the greater the chance of changes being made in your org which could cause the deployment to fail. We encourage you to deploy validated packages that haven’t yet expired to minimize these risks.
Streamline your deployment workflow
Collaborating on Salesforce deployments doesn’t have to be tricky. With features such as validated packages, and many more besides, Gearset’s metadata deployment solution will help you deploy faster and more reliably. If you haven’t already, start your free 30-day trial today.


