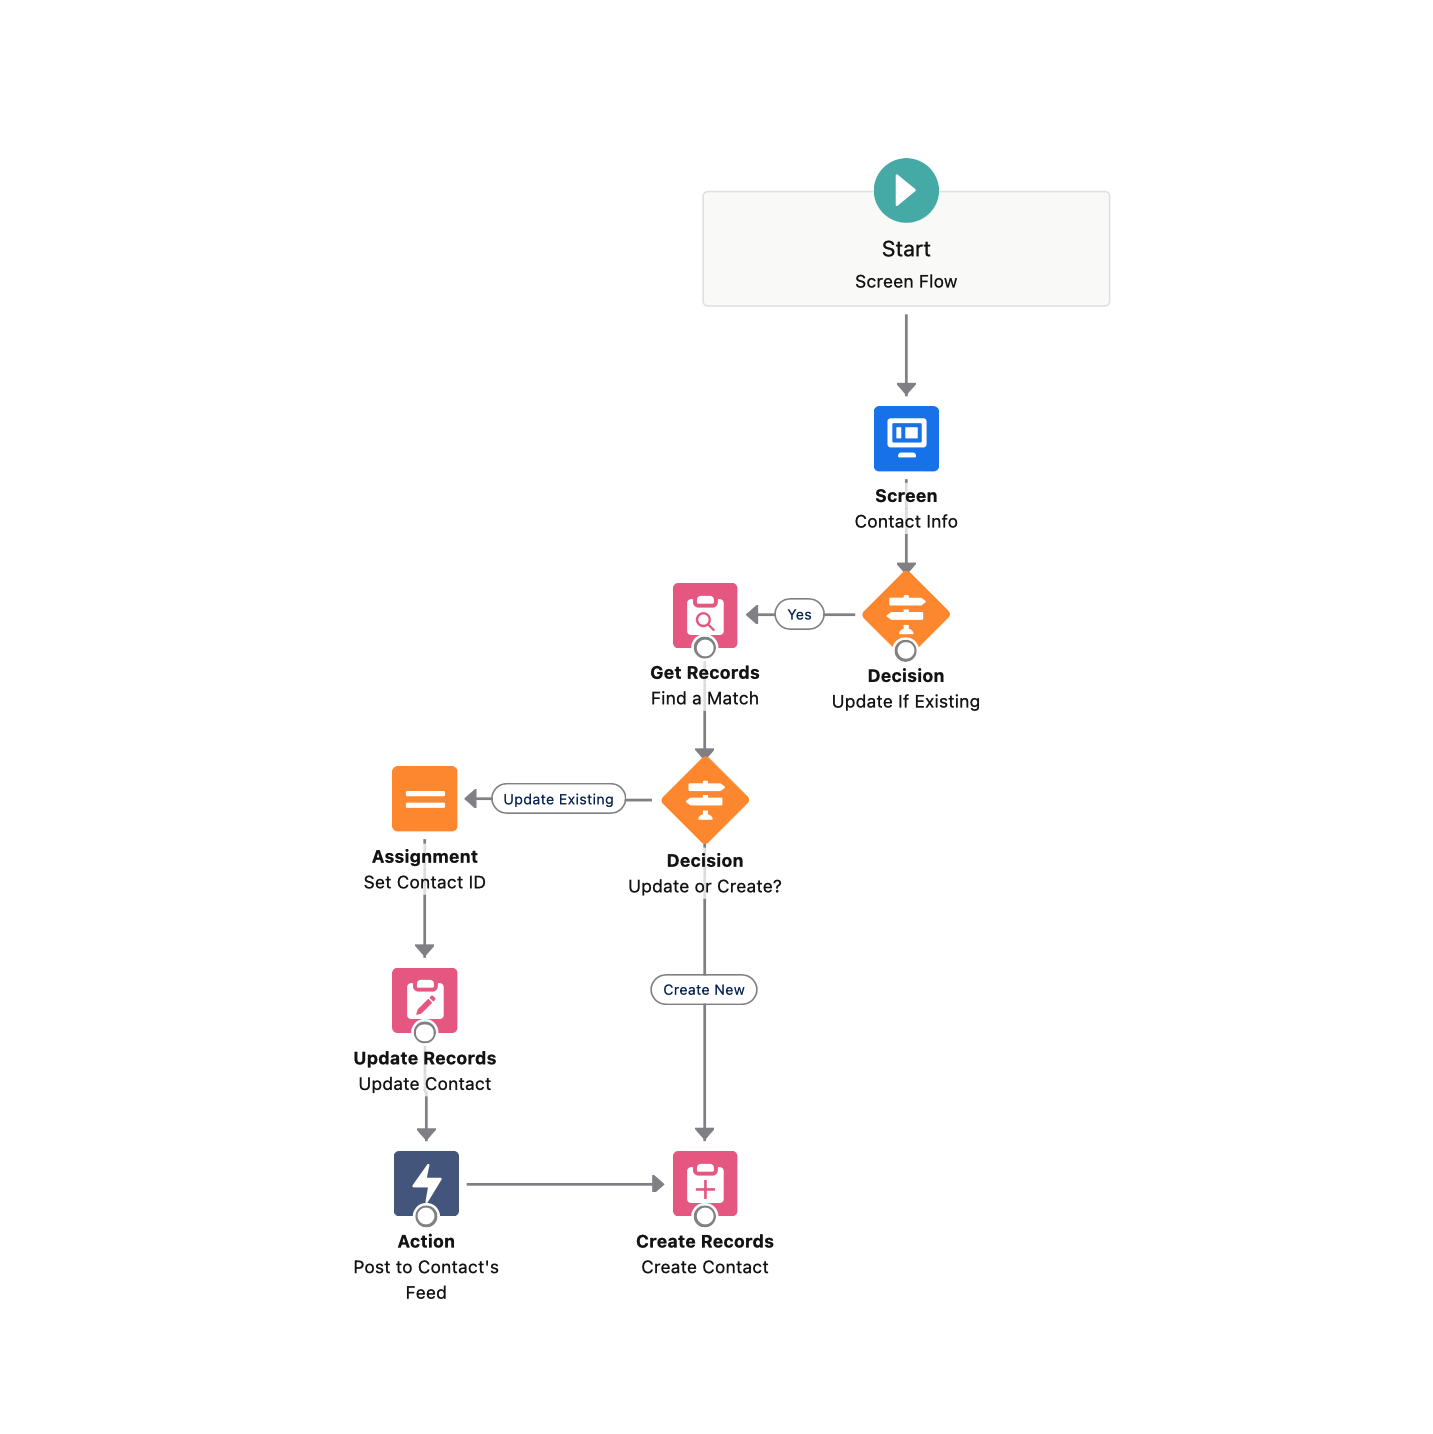
Flows make our lives easier. They automate our business processes, so that end users can input the right data or follow up with the right action. But when you come to a data deployment, active flows in your target org can make it all a bit tricky. Let’s walk through what the common problems with this are and a better way to fix them.
Common problems with flows and data deployments
There are a couple of problems that can easily happen during a data deployment, both caused by active flows in the target org:
- Your data deployment fails. This problem is immediately obvious when it happens. If you get a Salesforce error message like
CANNOT_EXECUTE_FLOW_TRIGGER, the data you’re trying to deploy hasn’t triggered an active flow in the target org, which causes the data deployment to fail. The simple solution is to deactivate the problematic flow in your target org, but it’s often difficult to identify the right one. - You accidentally trigger an active flow in your target org. Let’s say you’ve created a flow which sends new contacts a welcome email. This automates a job for your marketing team, which is fantastic... Until you deploy some test data from your production org to your UAT org. If this flow is active in UAT, any contacts in this data deployment might appear ‘new’ in UAT and trigger the flow — sending a load of welcome emails to existing customers. You want to deactivate the new contact flow in your UAT org to avoid this, but you’re not sure how.
One solution to these common problems is to manually deactivate your flows in the target org, but this is time consuming. There’s also a risk that you lose track of which version of your flow is meant to be active: you could deactivate the flows in your target org, finish your data deployment, and return to the target org unclear on which flows to reactivate. It can work, but it’s hardly ideal.
Stop flying blind: How Truckstop brought clarity to a complex org
How does flow metadata work?
To work out the best way to deactivate flows as part of your data deployment process, it’s important to understand flow metadata. Each flow has two XML files:
The flow file, which contains the actual business logic of the flow and describes the flow diagram that you see on Salesforce. The flow file also contains a status tag, which indicates that a flow is active with the status tag
active. An inactive flow is indicated by the status tagsdraftorobsolete.
The flow definition file shows which version of the flow is currently active. Its XML looks like this:

Since the release of v44 of the Metadata API, Salesforce now recommends that you don’t use the flow definition files in your deployment package.
What changes did v44 make to flow deactivation?
As of v44 of the Metadata API, released in winter 2019, Salesforce recommends that you use the flow file’s status tags to activate and deactivate flows. But when you come to a metadata deployment, you can’t deploy a change to the status tag to activate or deactivate flows, as this isn’t compatible with Salesforce’s Metadata API.
There is still a way to activate and deactivate flows using a metadata deployment, but you need to use the flow definition file. Even though Salesforce now recommends that the definition file is kept blank, it’s still compatible with the Metadata API — this is the key to bringing flow deactivation into the data deployment process.
A better way to deactivate flows for Salesforce data deployments
Having to manually deactivate and reactivate flows as pre- and post-deployment steps is a pain when you really want to get on with your data deployment — and that’s without the problem of remembering which flow version you want to change
You shouldn’t have to switch between flow builder and your deployment to deactivate flows, and you certainly shouldn’t have to waste time keeping track of flow versions. With Gearset you can easily deactivate flows within your data deployment process, by running a metadata deployment of the relevant flow definitions.
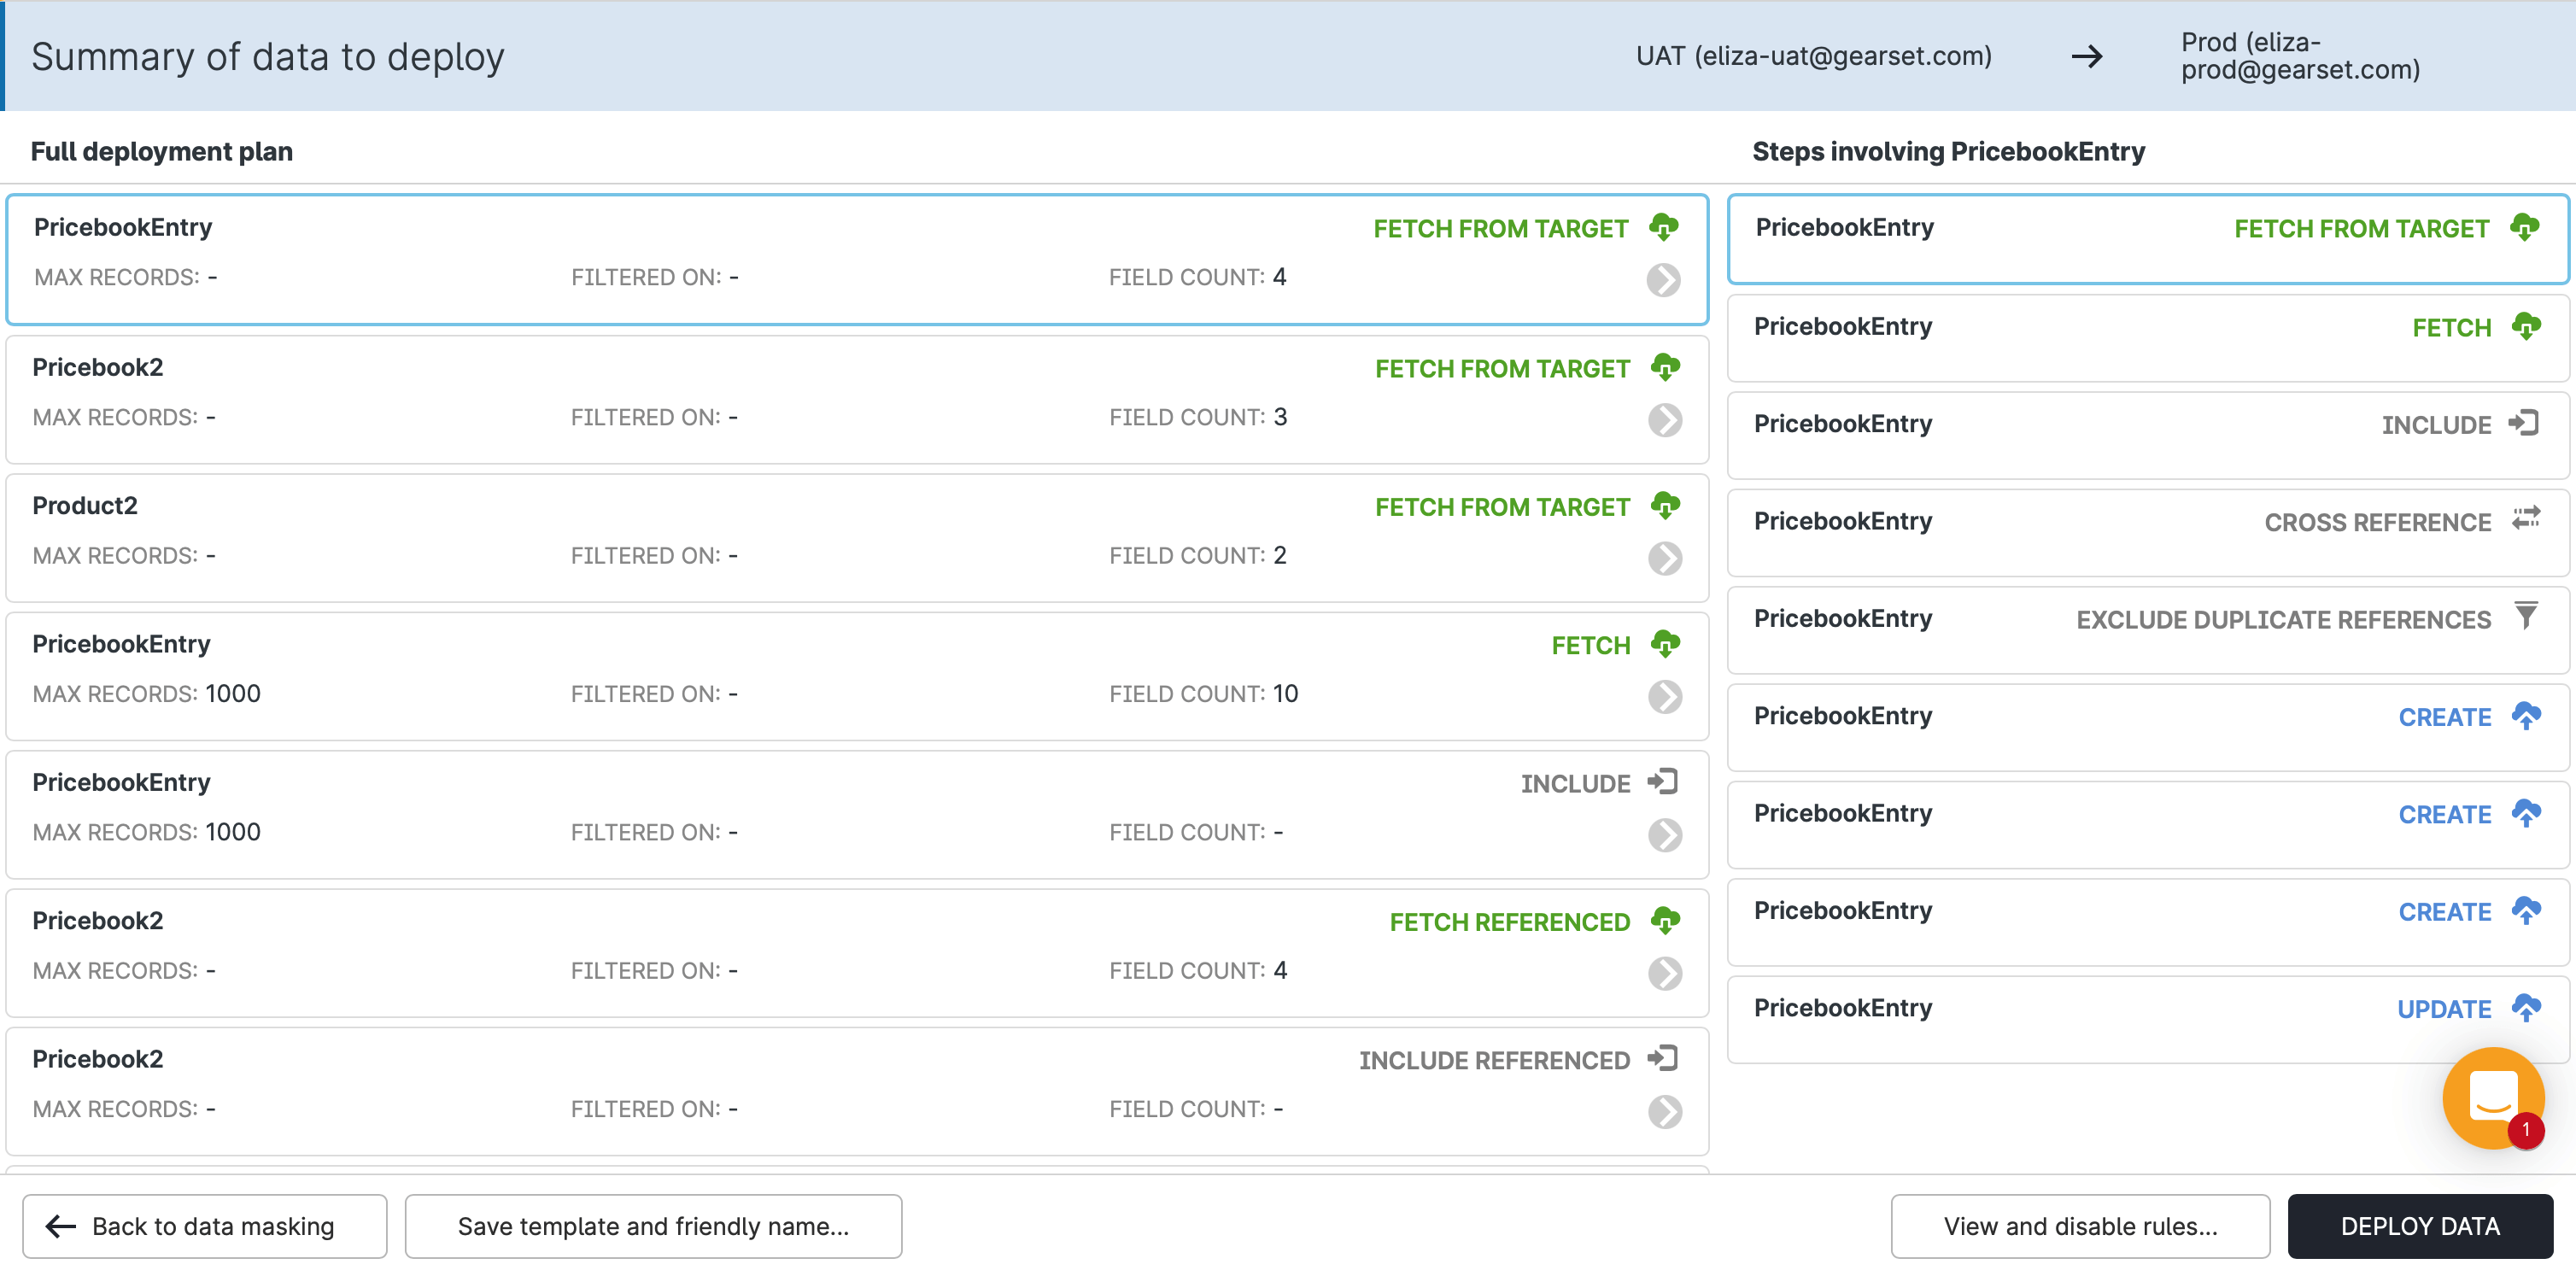
Once you’ve configured your data deployment in Gearset, you simply click View and disable rules in the bottom right hand corner, which will prepare a metadata comparison.

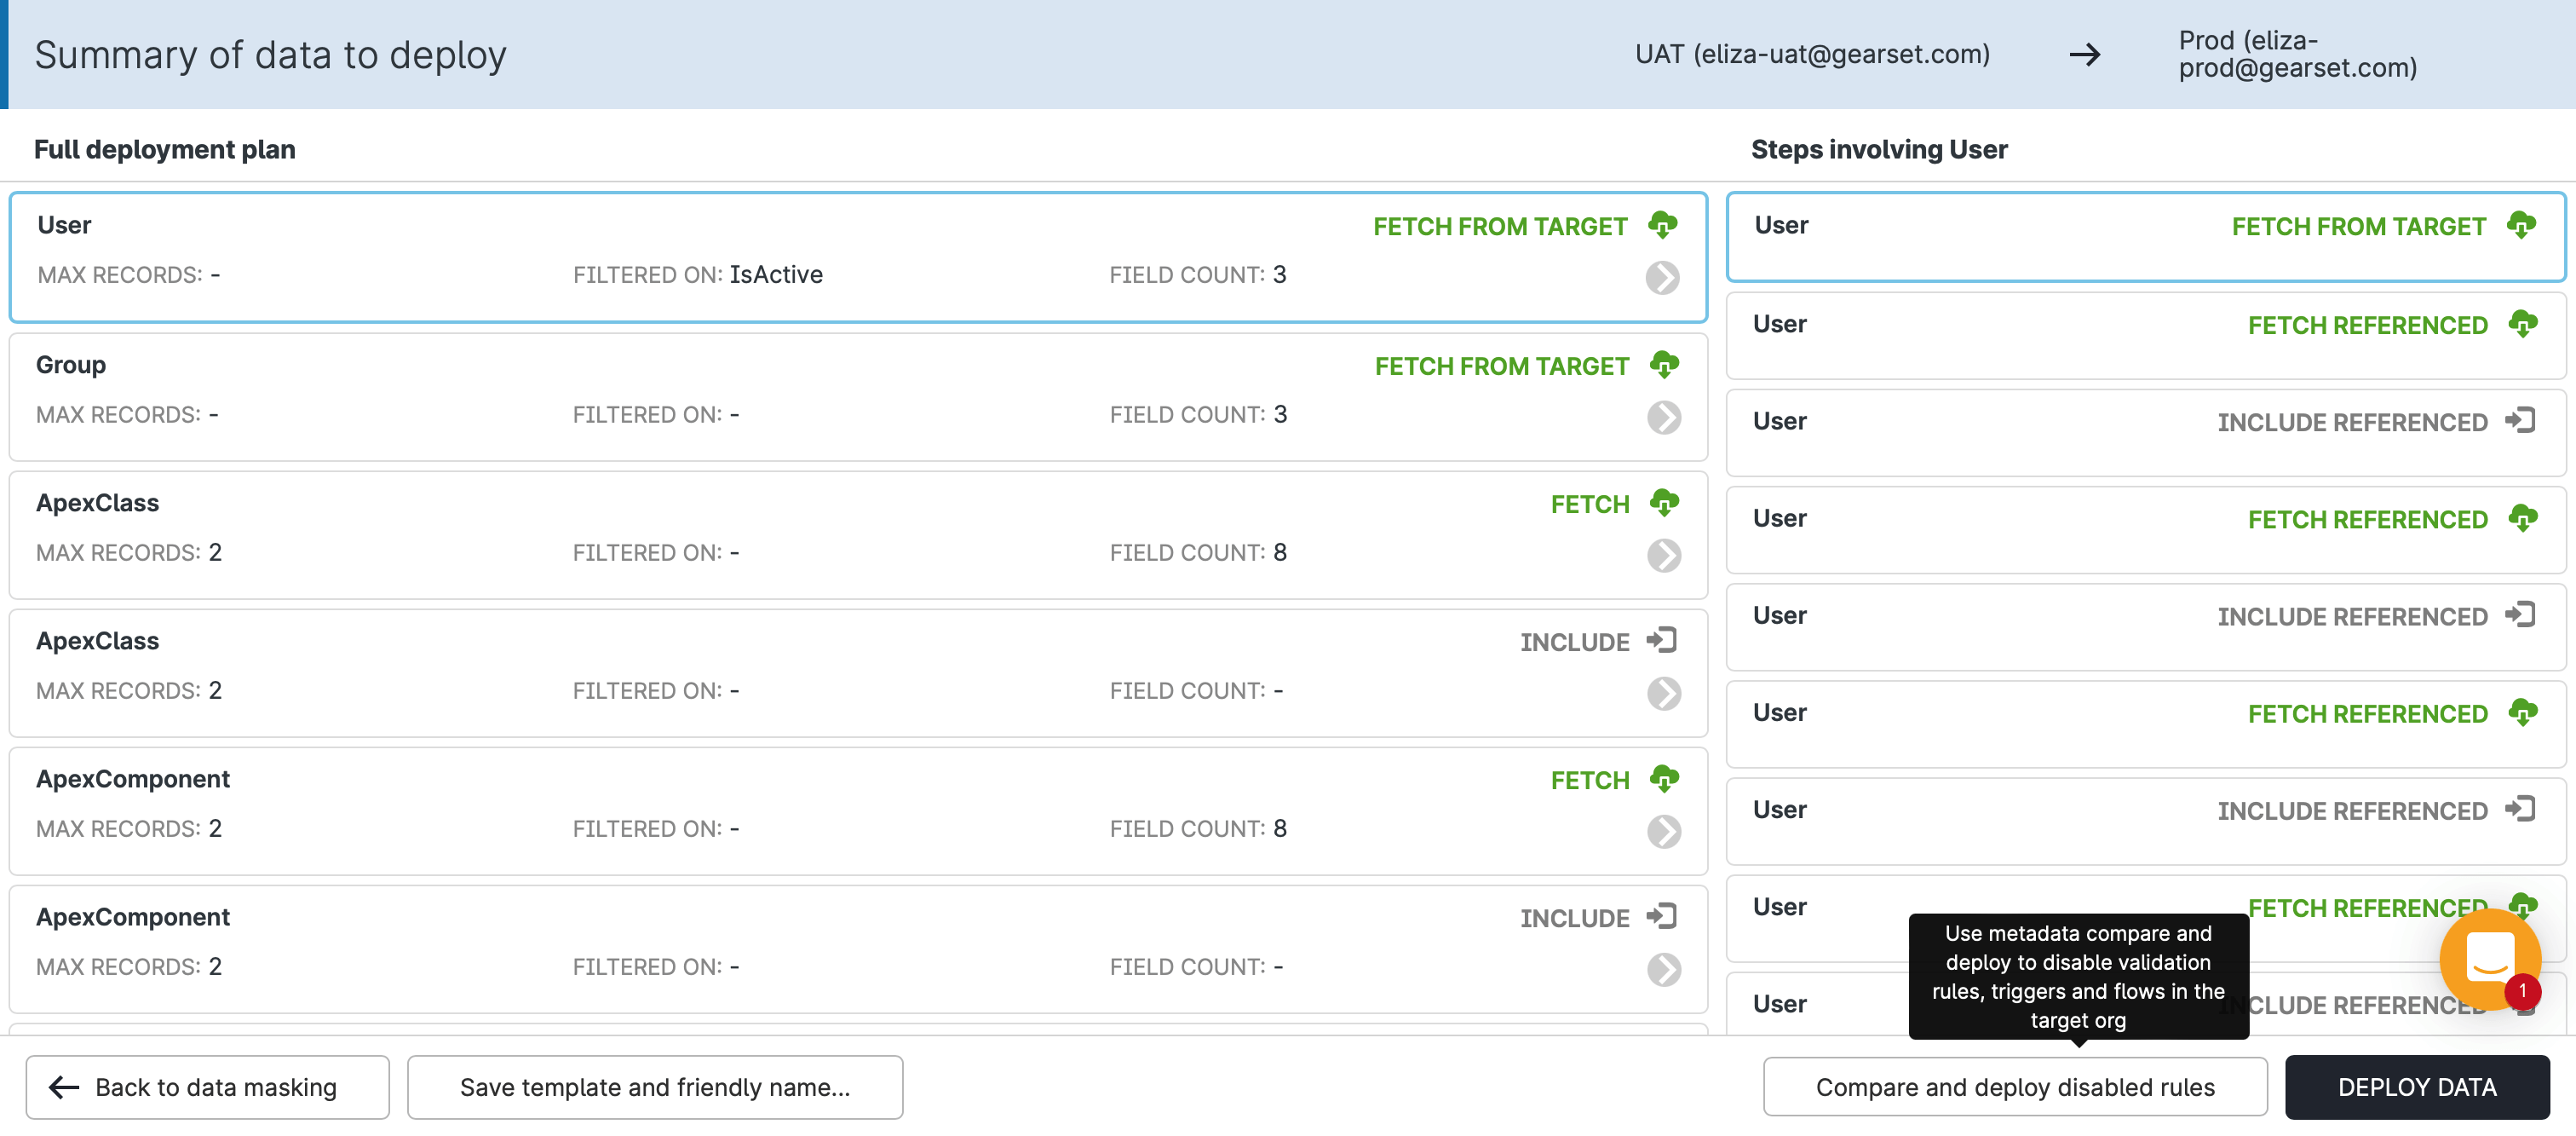
Once the comparison is ready, a new Compare and deploy disabled rules button will appear — again in the bottom right hand corner:

Click this button to open up a separate metadata deployment tab in your browser, which will show all of the flows that you can choose to deactivate for your data deployment. This metadata comparison is also useful if you want to deactivate other process automations, like validation rules and apex triggers.
In this new metadata deployment tab, select and deploy the flow definition files for the flows you want to deactivate. With your flows safely deactivated, now you can simply hop back over to your original tab and finish your data deployment, confident that your data deployment won’t trigger any flows.
Once you’ve successfully completed your data deployment, you can use Gearset’s rollback feature to reactivate the flows. To do this, go into your deployment history and click to rollback the flows. This will revert the flows back to their status before the deployment process, without touching the newly deployed data or having the new data trigger reactivated flows.
Simplify your data deployments
Data deployments should be easy, but flows can cause problems for many teams. To learn how to deploy flows in Salesforce, check out this quick guide and see how there’s a better way with Gearset.
You can try out Gearset’s advanced deployments and rollback for yourself with a 30-day free trial. If you’re already a customer with Gearset’s data deployment add on, you can perform this kind of rollback — even if you’re not on the ‘Teams’ deployment tier.


