No more tracking every change
See the metadata that’s new, changed or deleted between your environments at a glance.
Compare & Deploy
Change sets are slow and painful to build. They usually fail on the first attempt. And when you finally manage to deploy, you need to do the whole thing again for the next stage in your pipeline.
Deployments with Gearset take a fraction of the time, because they’re intuitive and reliable for everyone. What’s more, packages can be cloned or redeployed in a matter of clicks.
Spend less time deploying, and more time developing.
I’ve saved around seven hours of my time every month and significantly reduced the strain on my nerves!
Co-Founder, Billie

Compare your source and target, select your changes, and deploy.
Change sets leave you in the dark, with no insight into the differences between your environments.
See the metadata that’s new, changed or deleted between your environments at a glance.
Visualize changes to flows, picklists, layouts and more. Or analyze your XML diff line by line.
Dig into any item to see its dependencies. Gearset will even flag missing dependencies in your deployment package.
Having struggled with change sets for years, Gearset was a breath of fresh air. It is so quick and easy!
Salesforce Developer, Cornell University

Bring the team together with click-based deployments that empower everyone.
Filter and search to find your changes quickly in an intuitive UI, massively reducing the time it takes to prepare deployments.
Cherry-pick specific parts of metadata items to deploy, including profiles and layouts.
Work as a team using one platform and following a single shared process — you can even schedule deployments for later or save them as a draft.
Deploy metadata and config data between any type of environment.
Move changes between version control and Salesforce just as easily as org to org, using any Git hosting provider.
Deploy CPQ config & Industries (Vlocity) DataPacks alongside regular metadata — with support for version control.
Leverage DX with clicks not code. Spin up and deploy to Salesforce DX scratch orgs, all with a few clicks in Gearset.


If you’re looking for something to work for a cross-functional team of admins and engineers, Gearset really is a no-brainer for achieving project deadlines in a way that doesn’t discriminate against any role.
Software Engineer, Intercom

Stop the painful cycle of deployment failure.
Boost deployment success with Gearset’s recommended fixes for almost 100 common causes of deployment failure.
Run unit tests and static code analysis whenever you deploy Apex. Relevant unit tests are automatically detected.
Run Salesforce validations from within Gearset to make sure the target org will successfully receive the changes.
Every Gearset subscription includes immediate access to free support from real people, not bots. Why not reach out now via our live chat or get in touch to book a demo?
0%
00:00:00
Remove risk and uncertainty from your release process.

Anyone would get value from Gearset instantly. The compare and deploy process is a huge step forward.
Salesforce Delivery Manager, Zurich

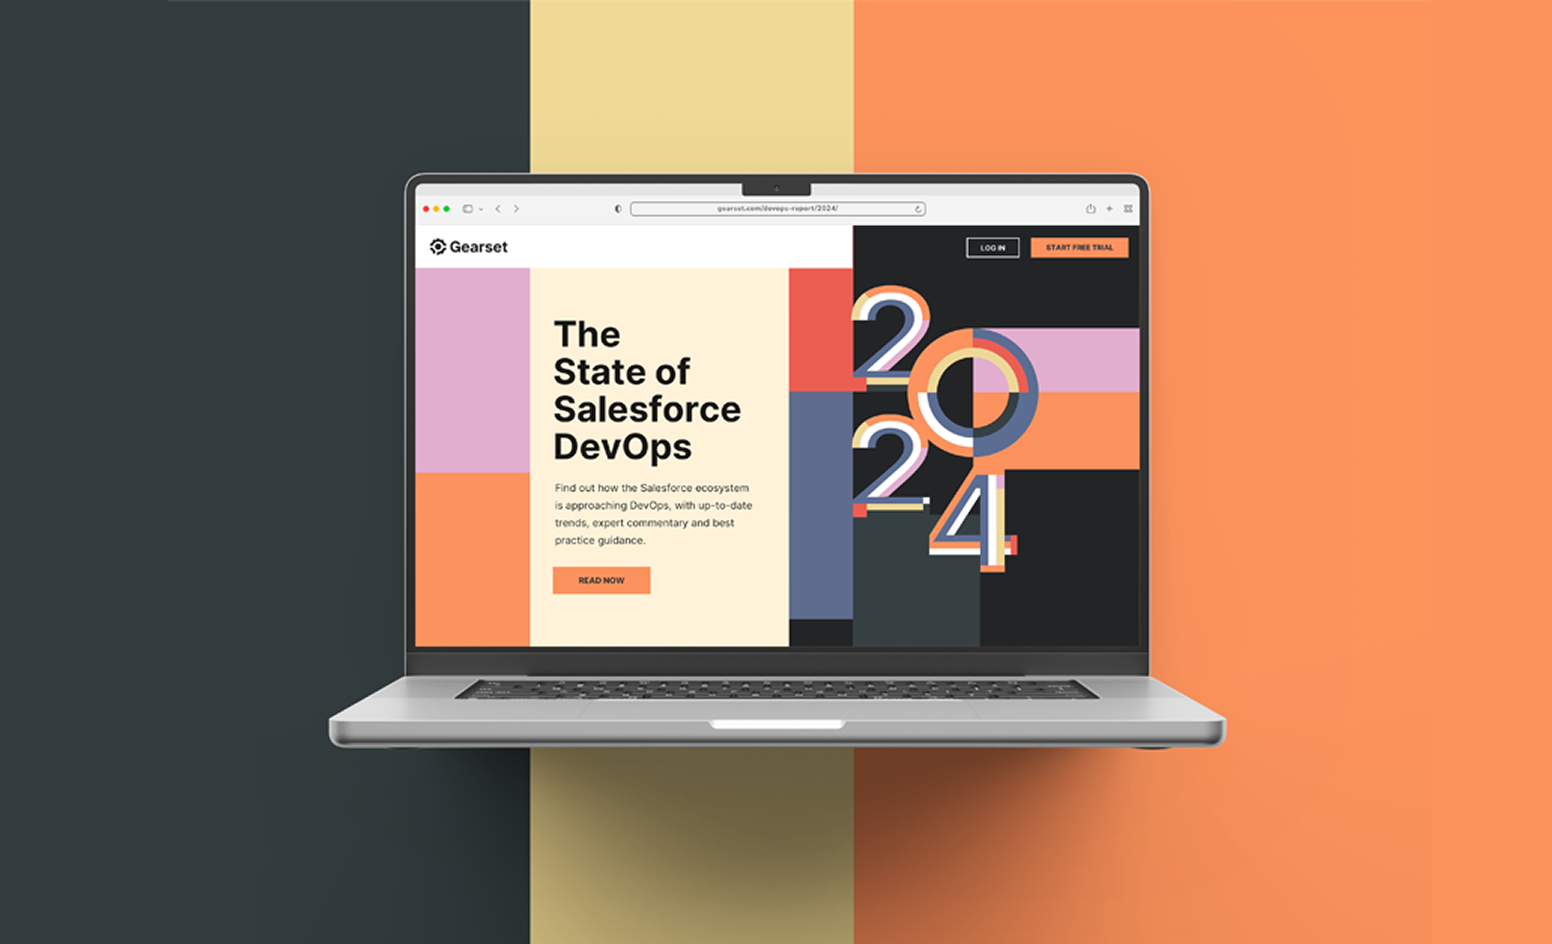
Source: The State of Salesforce DevOps report 2024
No. Gearset uses secure OAuth to enable connections to your Salesforce orgs. There’s nothing to install in your orgs, and Gearset doesn’t have access to or store your credentials.
You can link to as many of your Salesforce orgs as you need. You can also delegate specific access levels to your teammates, so they can compare and/or deploy to and from your orgs, helping you collaborate whatever your team size.
Gearset’s comparison UI highlights all changed, new and deleted metadata items, so you can easily see the differences between your environments. This means you don’t need to rely on manual, time-consuming and error-prone tracking. Plus, you can easily spot when an org is getting out of sync and use the comparison to align your environments.
Most Salesforce deployment tools (change sets, Ant migration tool, Workbench, or even DevOps Center) don't compare the metadata in your source and target orgs.
You can compare and deploy any Salesforce metadata that’s supported by the Salesforce Metadata API. Even metadata types that are notoriously difficult to migrate (profiles, permissions, layouts and even Agentforce) can all be deployed through Gearset’s UI.
You can also deploy unmanaged packages and managed packages with Gearset. Managed packages aren’t included as part of the standard comparison filter but you can add them to your filter in just a few clicks.
Even low-code environments benefit from source control. We support all Git-based providers (such as GitHub, Bitbucket, AWS CodeCommit, VSTS, and GitLab) for declarative source code management.
We support on-premises Git setups, e.g. BitBucket Server (Stash), GitHub Enterprise, Azure DevOps Server and GitLab Self Managed.
Yes. Every deployment you perform via Gearset is saved so you have a complete audit history of every change made to your Salesforce orgs.
Yes. There are four levels of permissions you can assign to each team member for each org: no access to the org; access for comparisons only; access for comparisons and validations; full access to deploy to the org.
Work directly with a dedicated team of DevOps experts to get the best possible return on your budget.
Arrange a tailored demo with our DevOps experts. Kick off the process with a 15-minute call to discuss your requirements.
Choose an upcoming live demo to attend and see Gearset in action with the option to ask live questions.
Talk to an expert in minutes with a 4.9/5 customer happiness rating.