Custom reports give Salesforce teams an infinite number of ways to customize how Salesforce data is presented in reports — allowing you to provide just the right insights for the team and wider business. But, with all the layers of configuration, custom reports become complex and can be a pain to deploy. Read on to learn more about custom reports and how to deploy them.
What are report types?
Report types determine which fields and records are available for use when creating a report in Salesforce. Reports can either be standard type, giving pre-defined reports for common object types, or custom type, which gives you granular control of the data included in your reports.
All objects, including external objects, are compatible with either the standard or custom report type, so pick the one that best suits your end users’ goals.
Standard report type
Standard report types only use records from the defined fields on a single object. Standard objects like Accounts, Opportunities and Campaigns already have a pre-made standard report type that you can use, and any custom objects you’ve built will also have a report type created for them automatically. To activate standard report types, you just need to check you’ve set “allow reports” to true in your chosen object’s definition.
Stop flying blind: How Truckstop brought clarity to a complex org
Custom report type
However, sometimes you’ll want to customize your reports more than is possible with standard report types — to look at more fields than Salesforce defines in a standard report, or to aggregate data from multiple objects. In this case, you’ll need to create a custom report.
When creating a custom report, you’ll need to set a “primary object” that defines the focus of the report. Watch out, because you won’t be able to include fields in your report that aren’t on this primary object — so choose a primary object with records for each field you’re wanting to cover in your final report. The primary object will also be the first object listed in your custom report type.
Once you’ve selected your “primary object”, you’ll also need to select child objects and define parent-child relationships. This can be done for up to four layers of objects. Salesforce’s “Cross Filter” function can help, by displaying both parent and child records matching your filter criteria.
It’s easy to create custom reports with Salesforce’s “Report Builder” tool, available in both Classic and Lightning Experience, even if you’re adding a lot of complex configurations. The Salesforce UI will help by prompting you to add in parent-child objects and relationships, which could be easily missed. You can then use layouts to select which fields will be included in filtering and output to reports.
How to deploy report types natively in Salesforce
It’s possible to deploy report types natively in Salesforce using change sets. Go to your Add to Change Set menu, and you’ll find “Report Types” under “Custom Report Types”. Once you’ve added these to your change set, you should be able to deploy them as you would any other metadata type.
However, because custom report types rely upon dependencies, you’ll need to make sure that you’ve added these to your change set. Salesforce doesn’t have any tools to suggest adding dependencies to your change set, and won’t warn you if a deployment is missing them.
Why’s it hard to deploy custom report types?
There are another couple of issues you might run into with custom report types, which can block deployments or prevent end users from seeing and using the report types once they’ve been deployed.
Field level security configuration
Each time your administrator creates a report filter criteria, specific fields are included in the filter and end users will be able to run a report with these fields filtered.
However, the user deploying the report type may be met with the error message Could not find field [field name or field ID] in table [object]. Or end users may see a similar issue when they try to create a report from the report type, and get the error message Invalid Report: You cannot run this report because its formulas or filters are invalid or it references fields that are inaccessible to you. Please contact your administrator to update the report.
Both of these issues are caused by improper field level security configuration — the person deploying or the end user doesn’t have access to one or more of the fields referenced in the report type. To fix this, you’ll need to deploy the proper field level security or field permissions, making sure affected users have the right field accessibility for all fields that are used in your report type or report’s filter criteria.
Permissions for creating reports from custom report types
When you create a custom report type, you must select whether it’s “in development” or already “deployed”. Any custom report types that are still “in development” will only be visible to authorized administrators once they’ve been deployed, meaning other users won’t be able to make reports from these just yet. This pain can be avoided by regularly updating the status of your custom report types, and ensuring they’re marked as “deployed” when you’re ready for users to start accessing them to create reports.
How to deploy ReportTypes with Gearset
With Gearset’s smart metadata deployment engine, you can easily deploy dependencies and the correct permissions for report types, all with granular control.
1. Select source and target
To begin, start a free 30-day trial of Gearset, then head to the Compare and deploy section of Gearset and select your source and target orgs. Click Compare now.
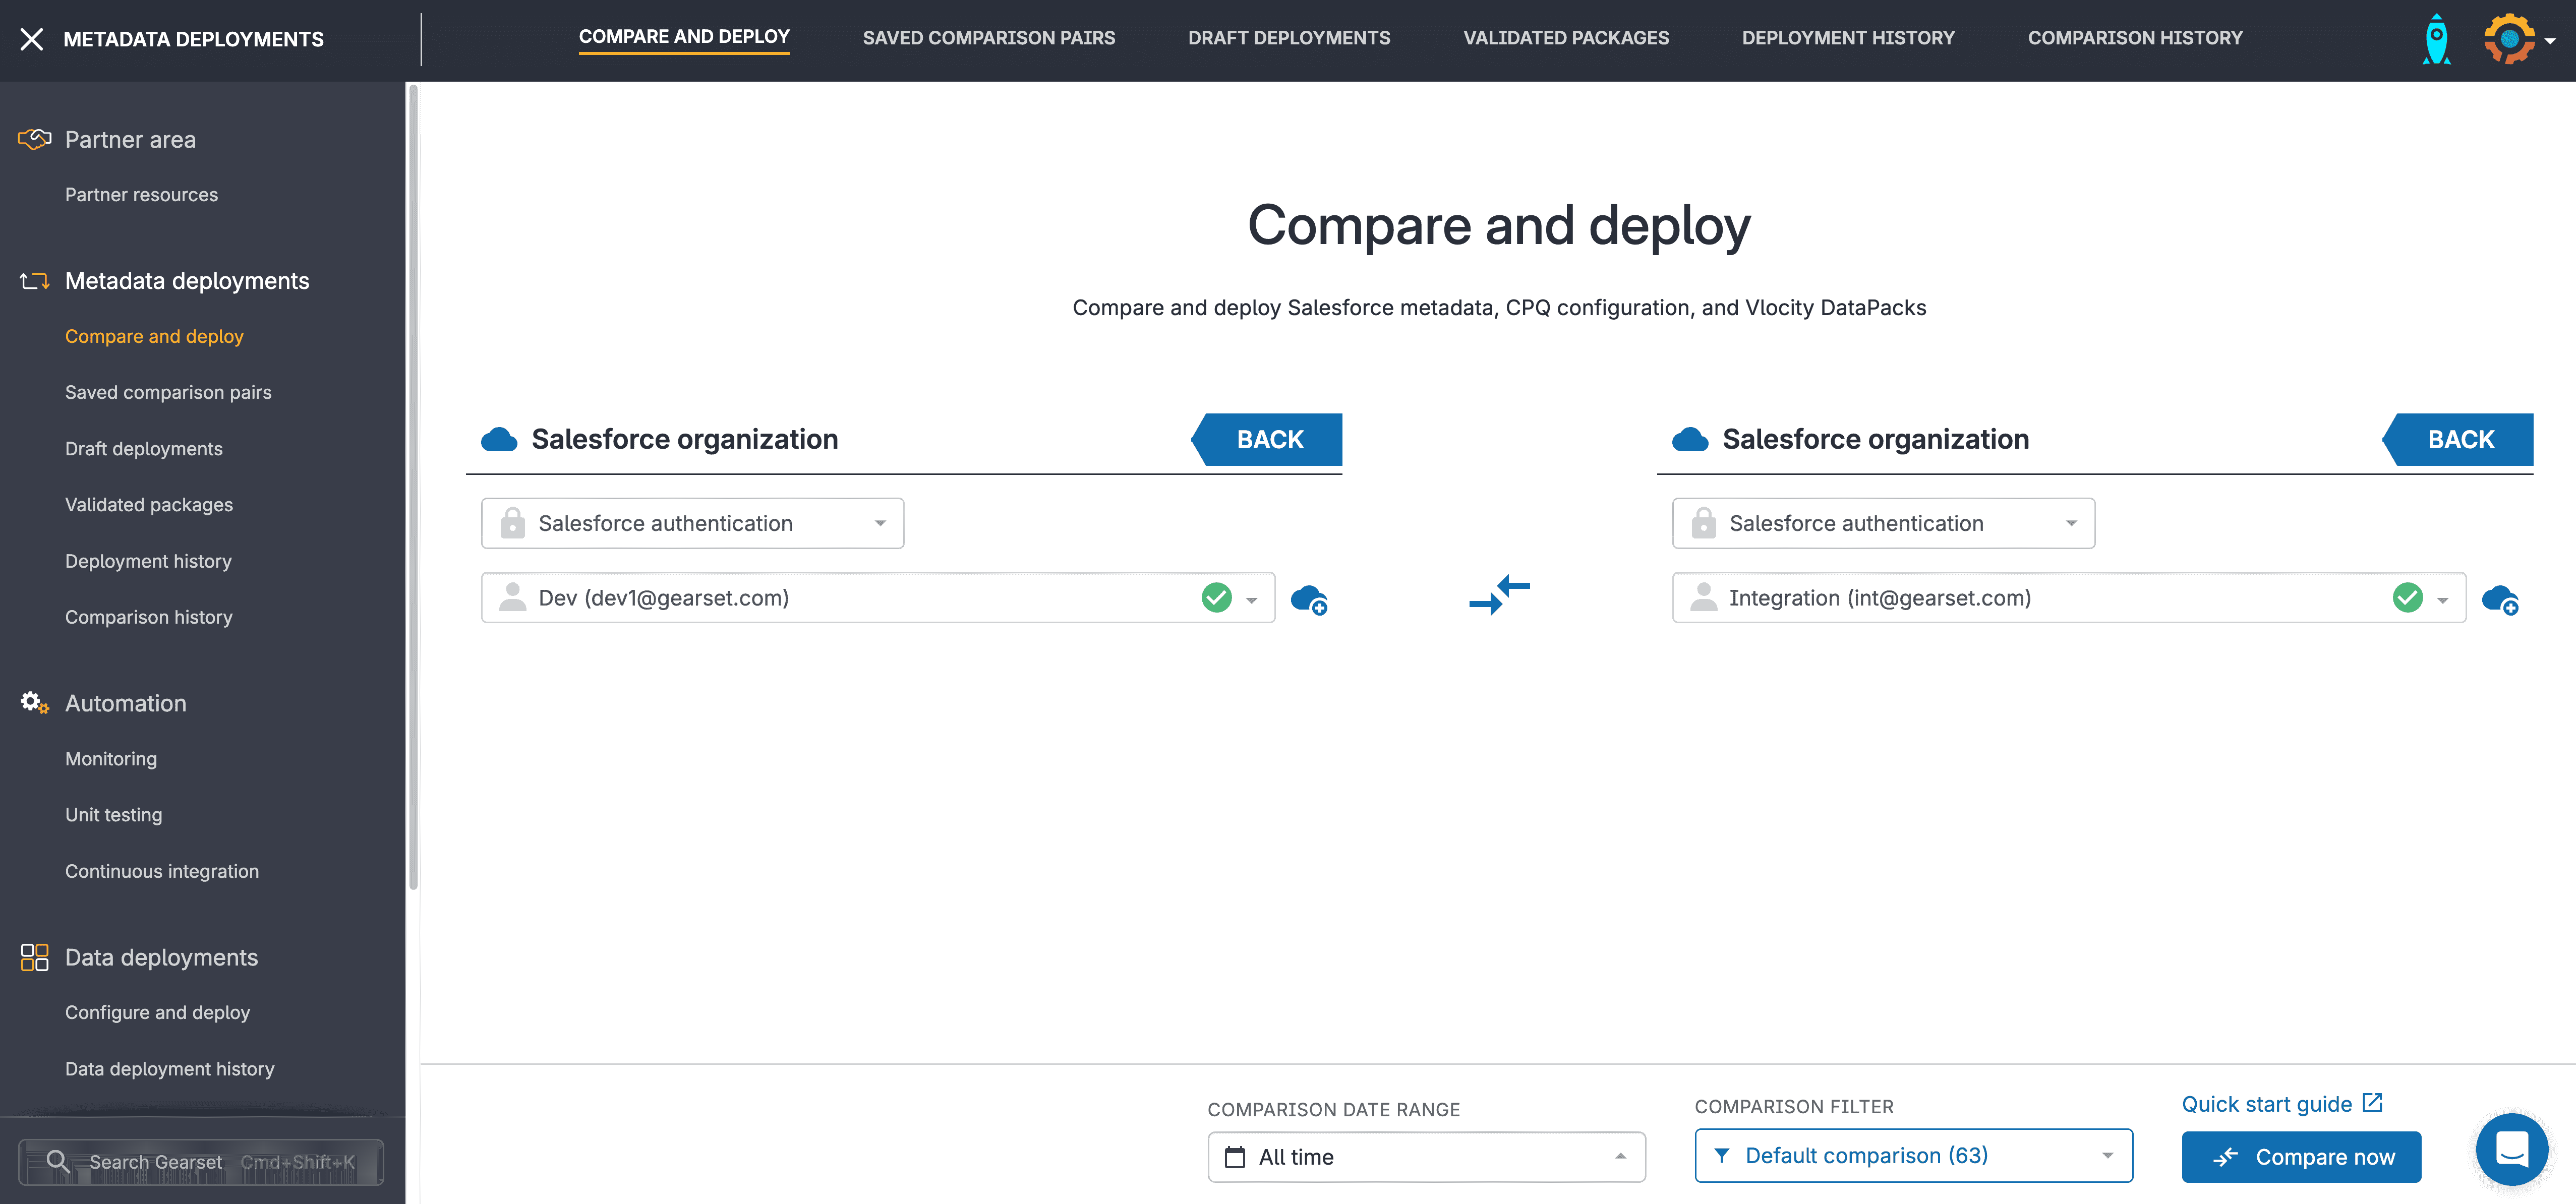
2. Start your comparison
Gearset will analyze the differences between your source and target org, highlighting all new, changed and deleted metadata items. You can filter your search results on the left-hand side. In this example, we’ve selected report types.
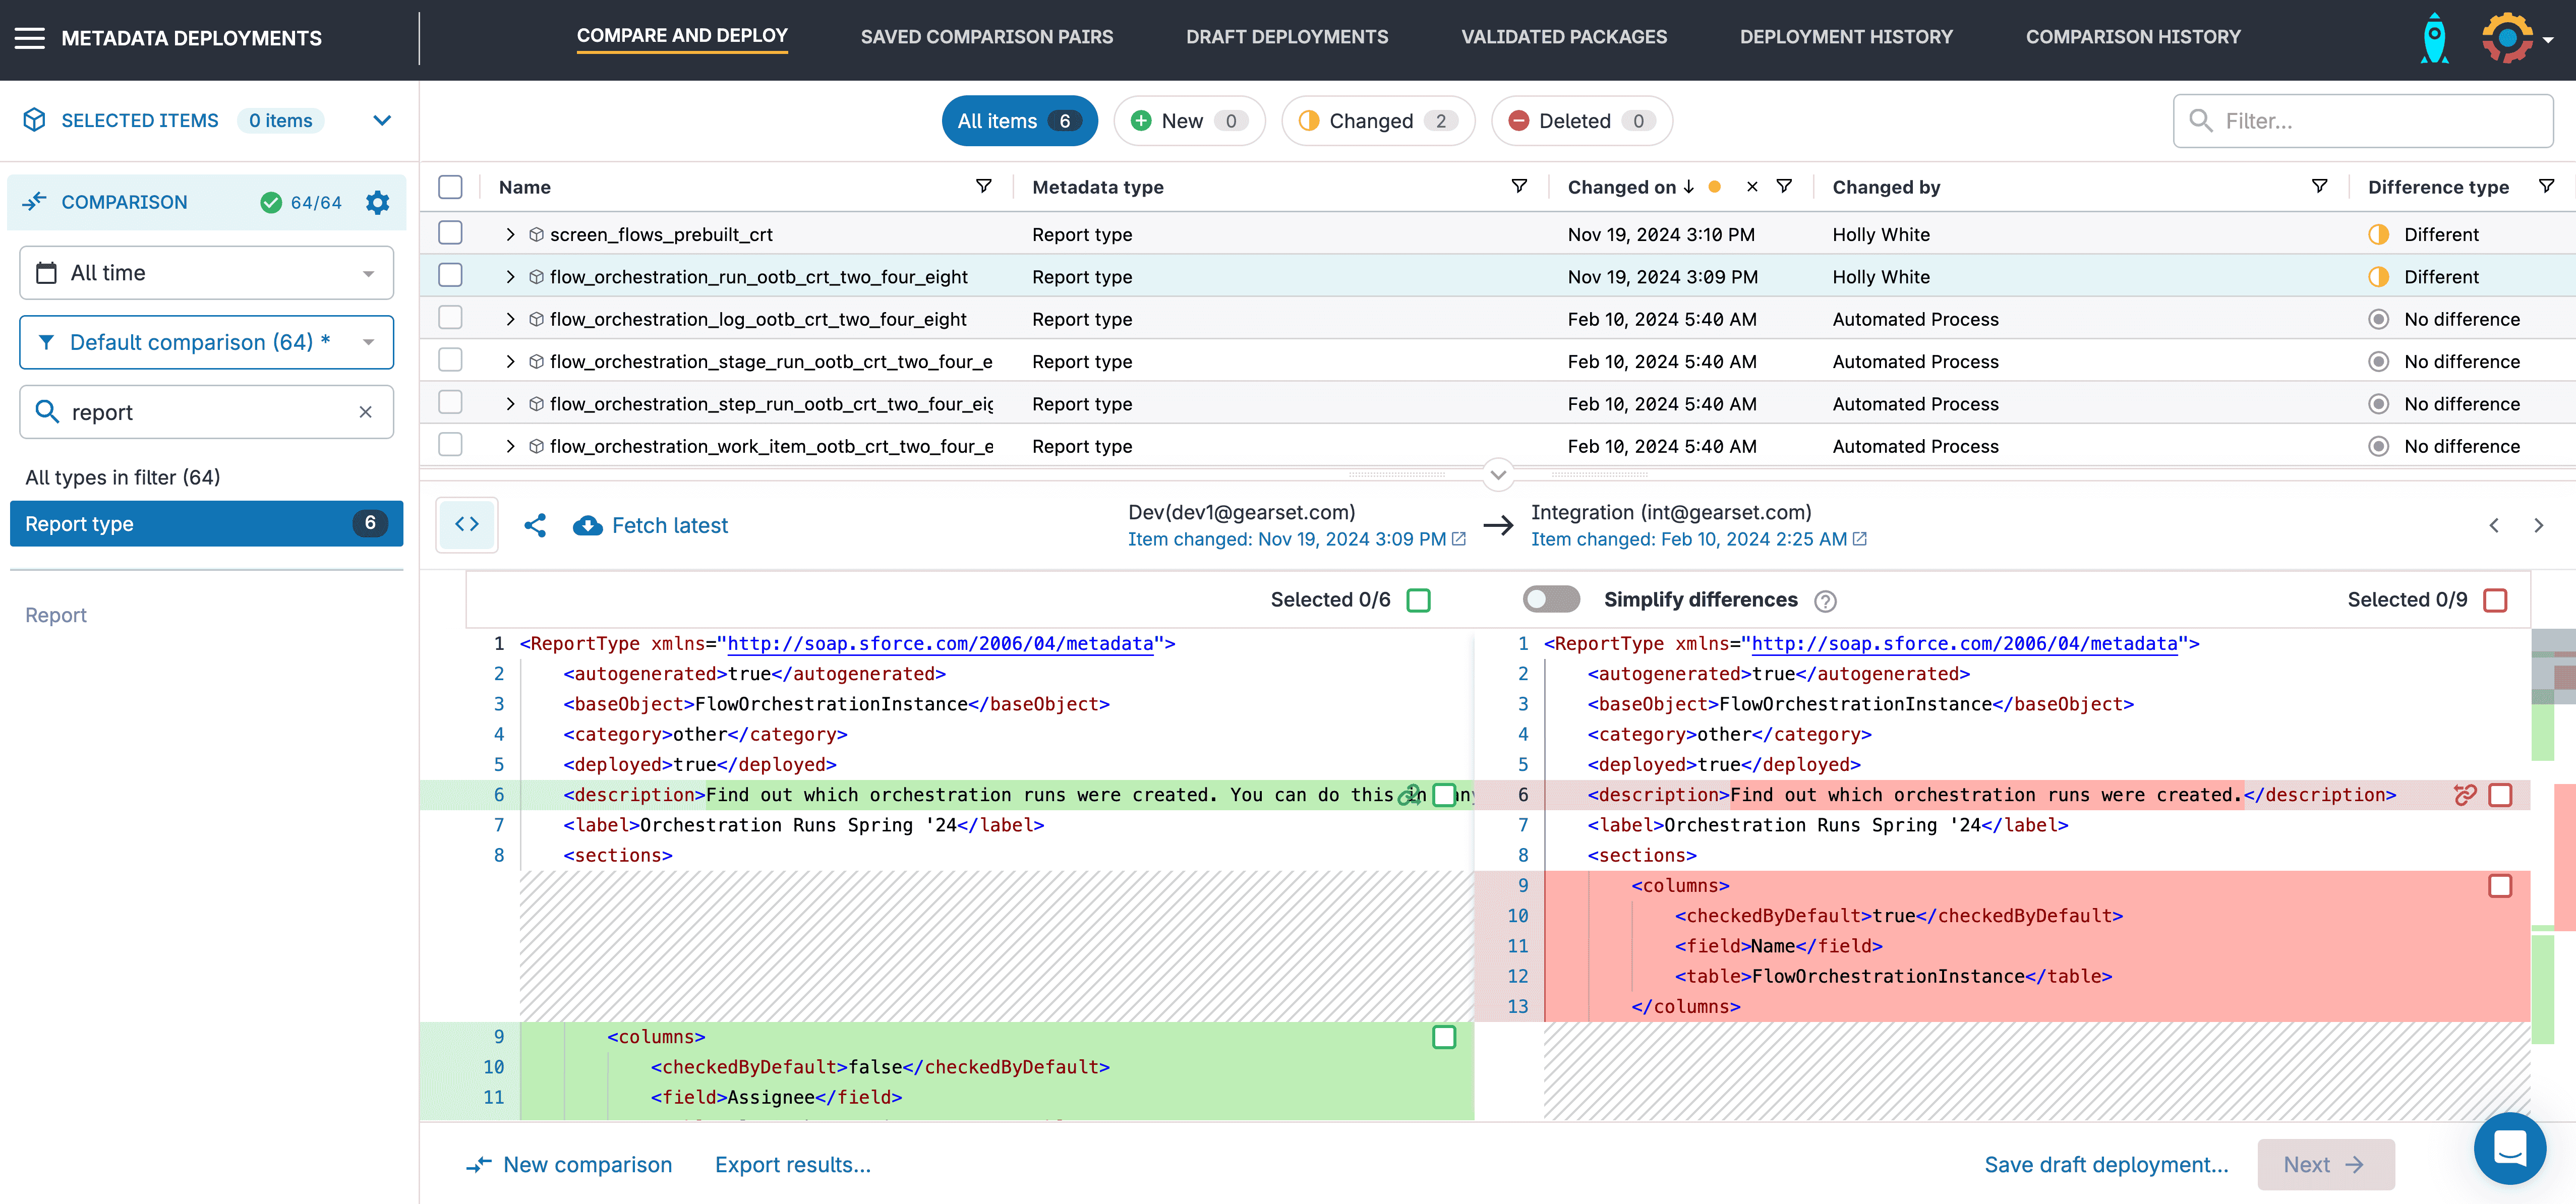
3. Select components for deployment
Select the report types that you want to deploy, along with any other metadata changes you want to take too. For report types, you can cherry pick the exact changes you want to deploy from the XML with Gearset’s precision deployments. This allows you to deploy some of the changes you’ve made to a report type, and hold back other changes you’re still making. It also saves you from overwriting other changes in the target.
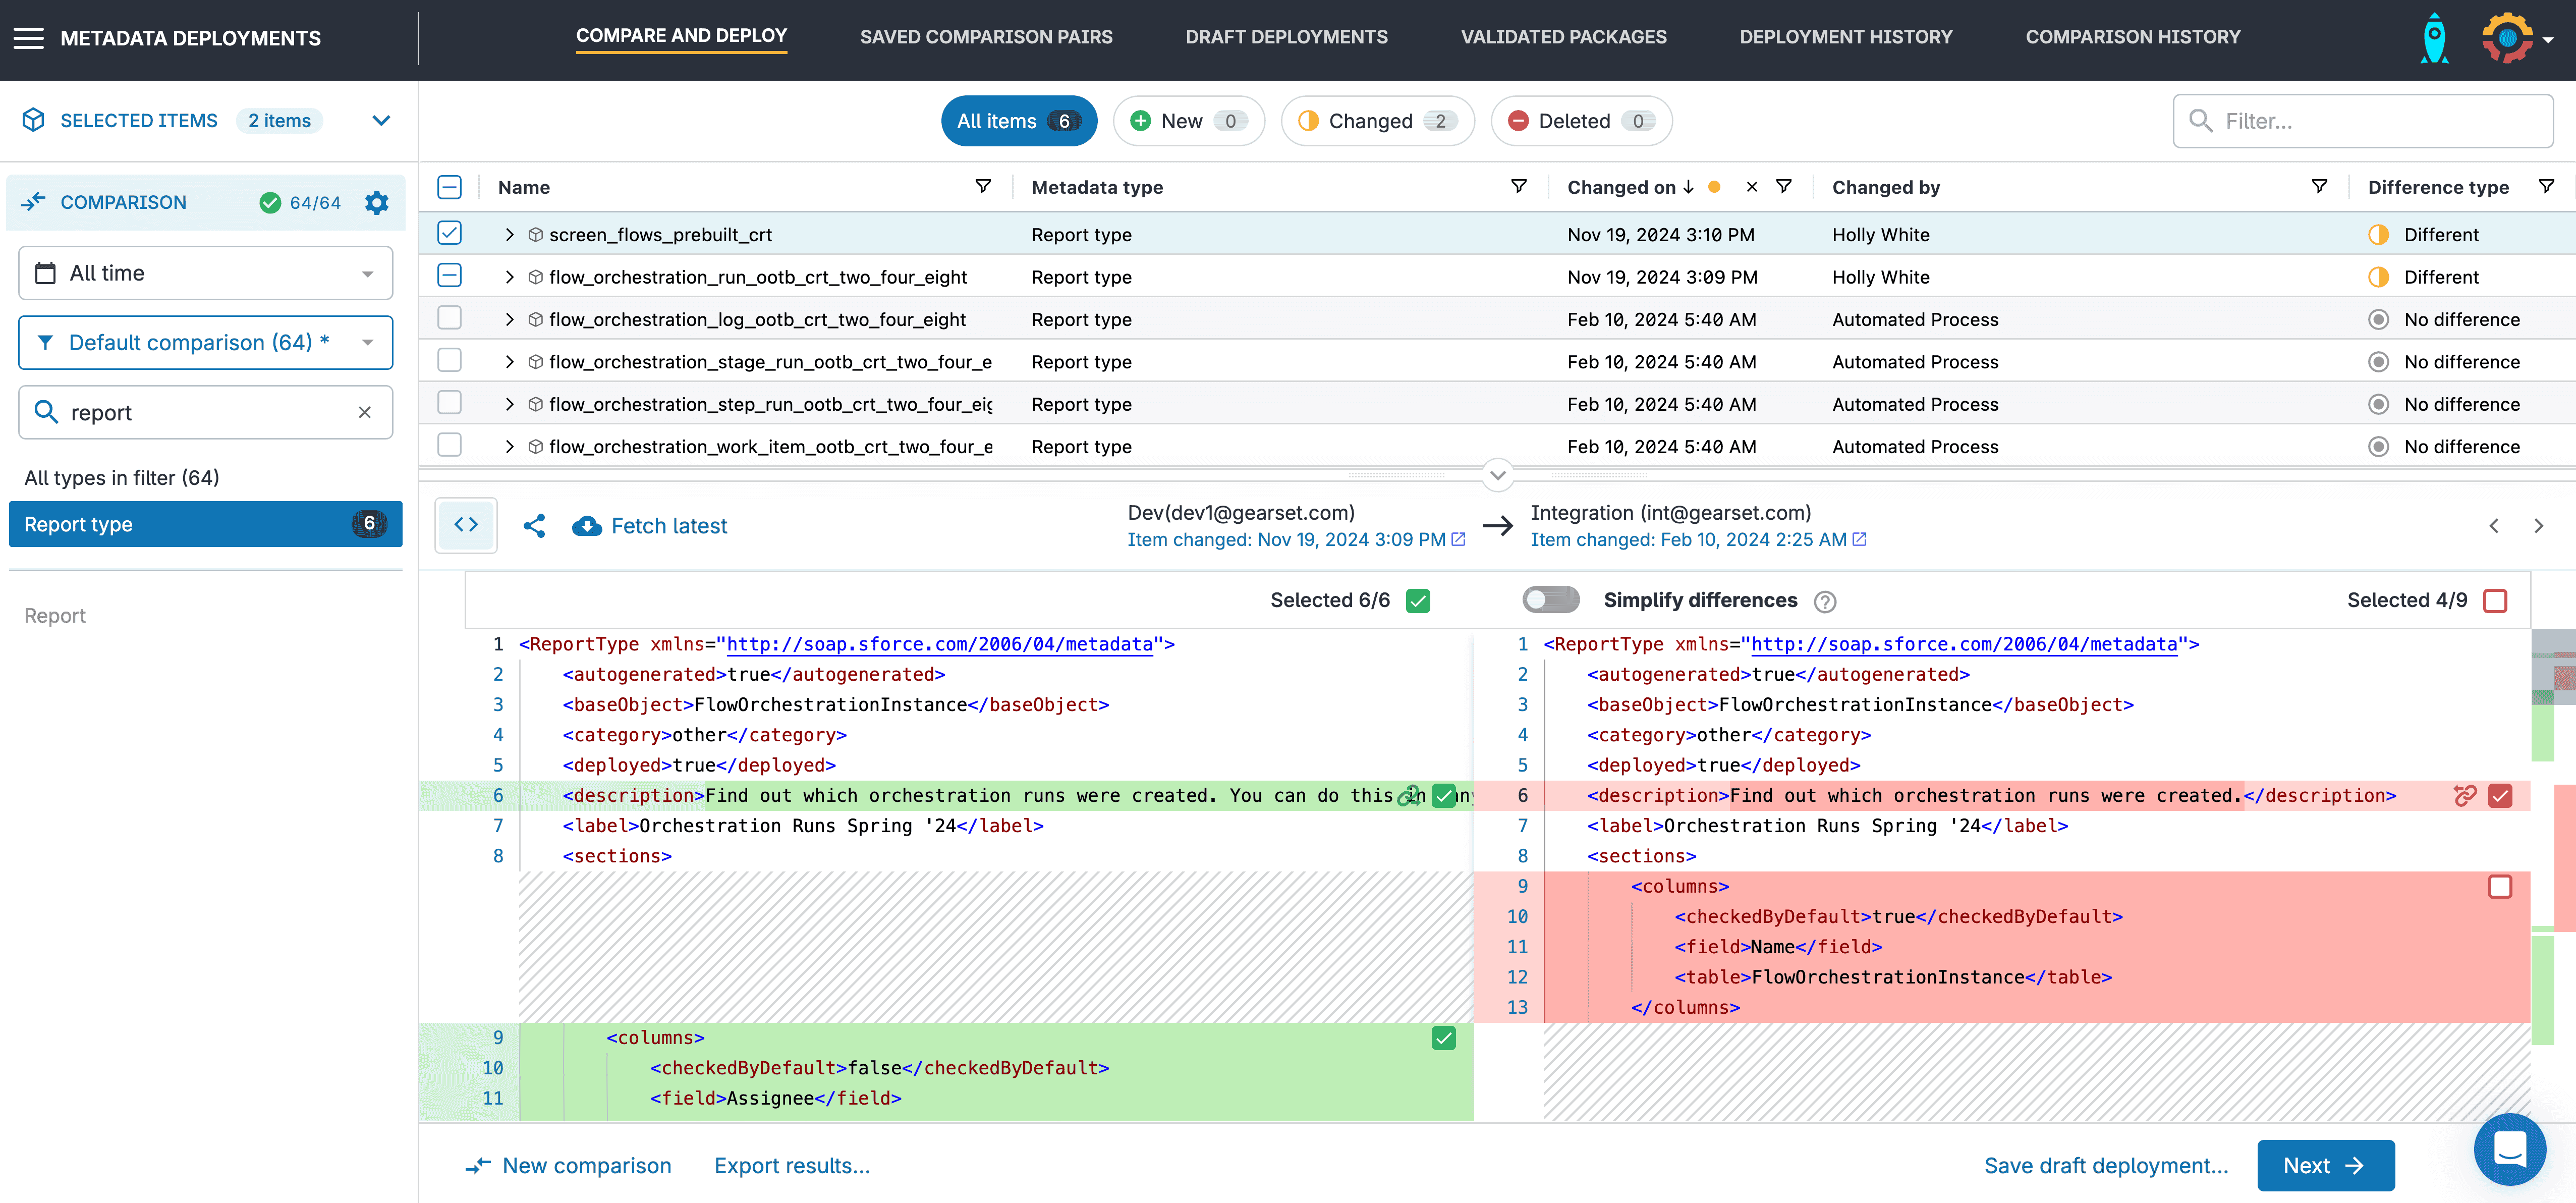
Once you’ve selected the components or specific lines of XML that you want to deploy, click Next.
4. Run the problem analyzers
Gearset’s problem analyzers will automatically check your deployment for common deployment errors. For example, if there are missing dependencies for your report type that you haven’t included in your deployment, Gearset will flag these for you. Click View all for a breakdown of suggested fixes, and choose whether to apply the fix to your deployment.
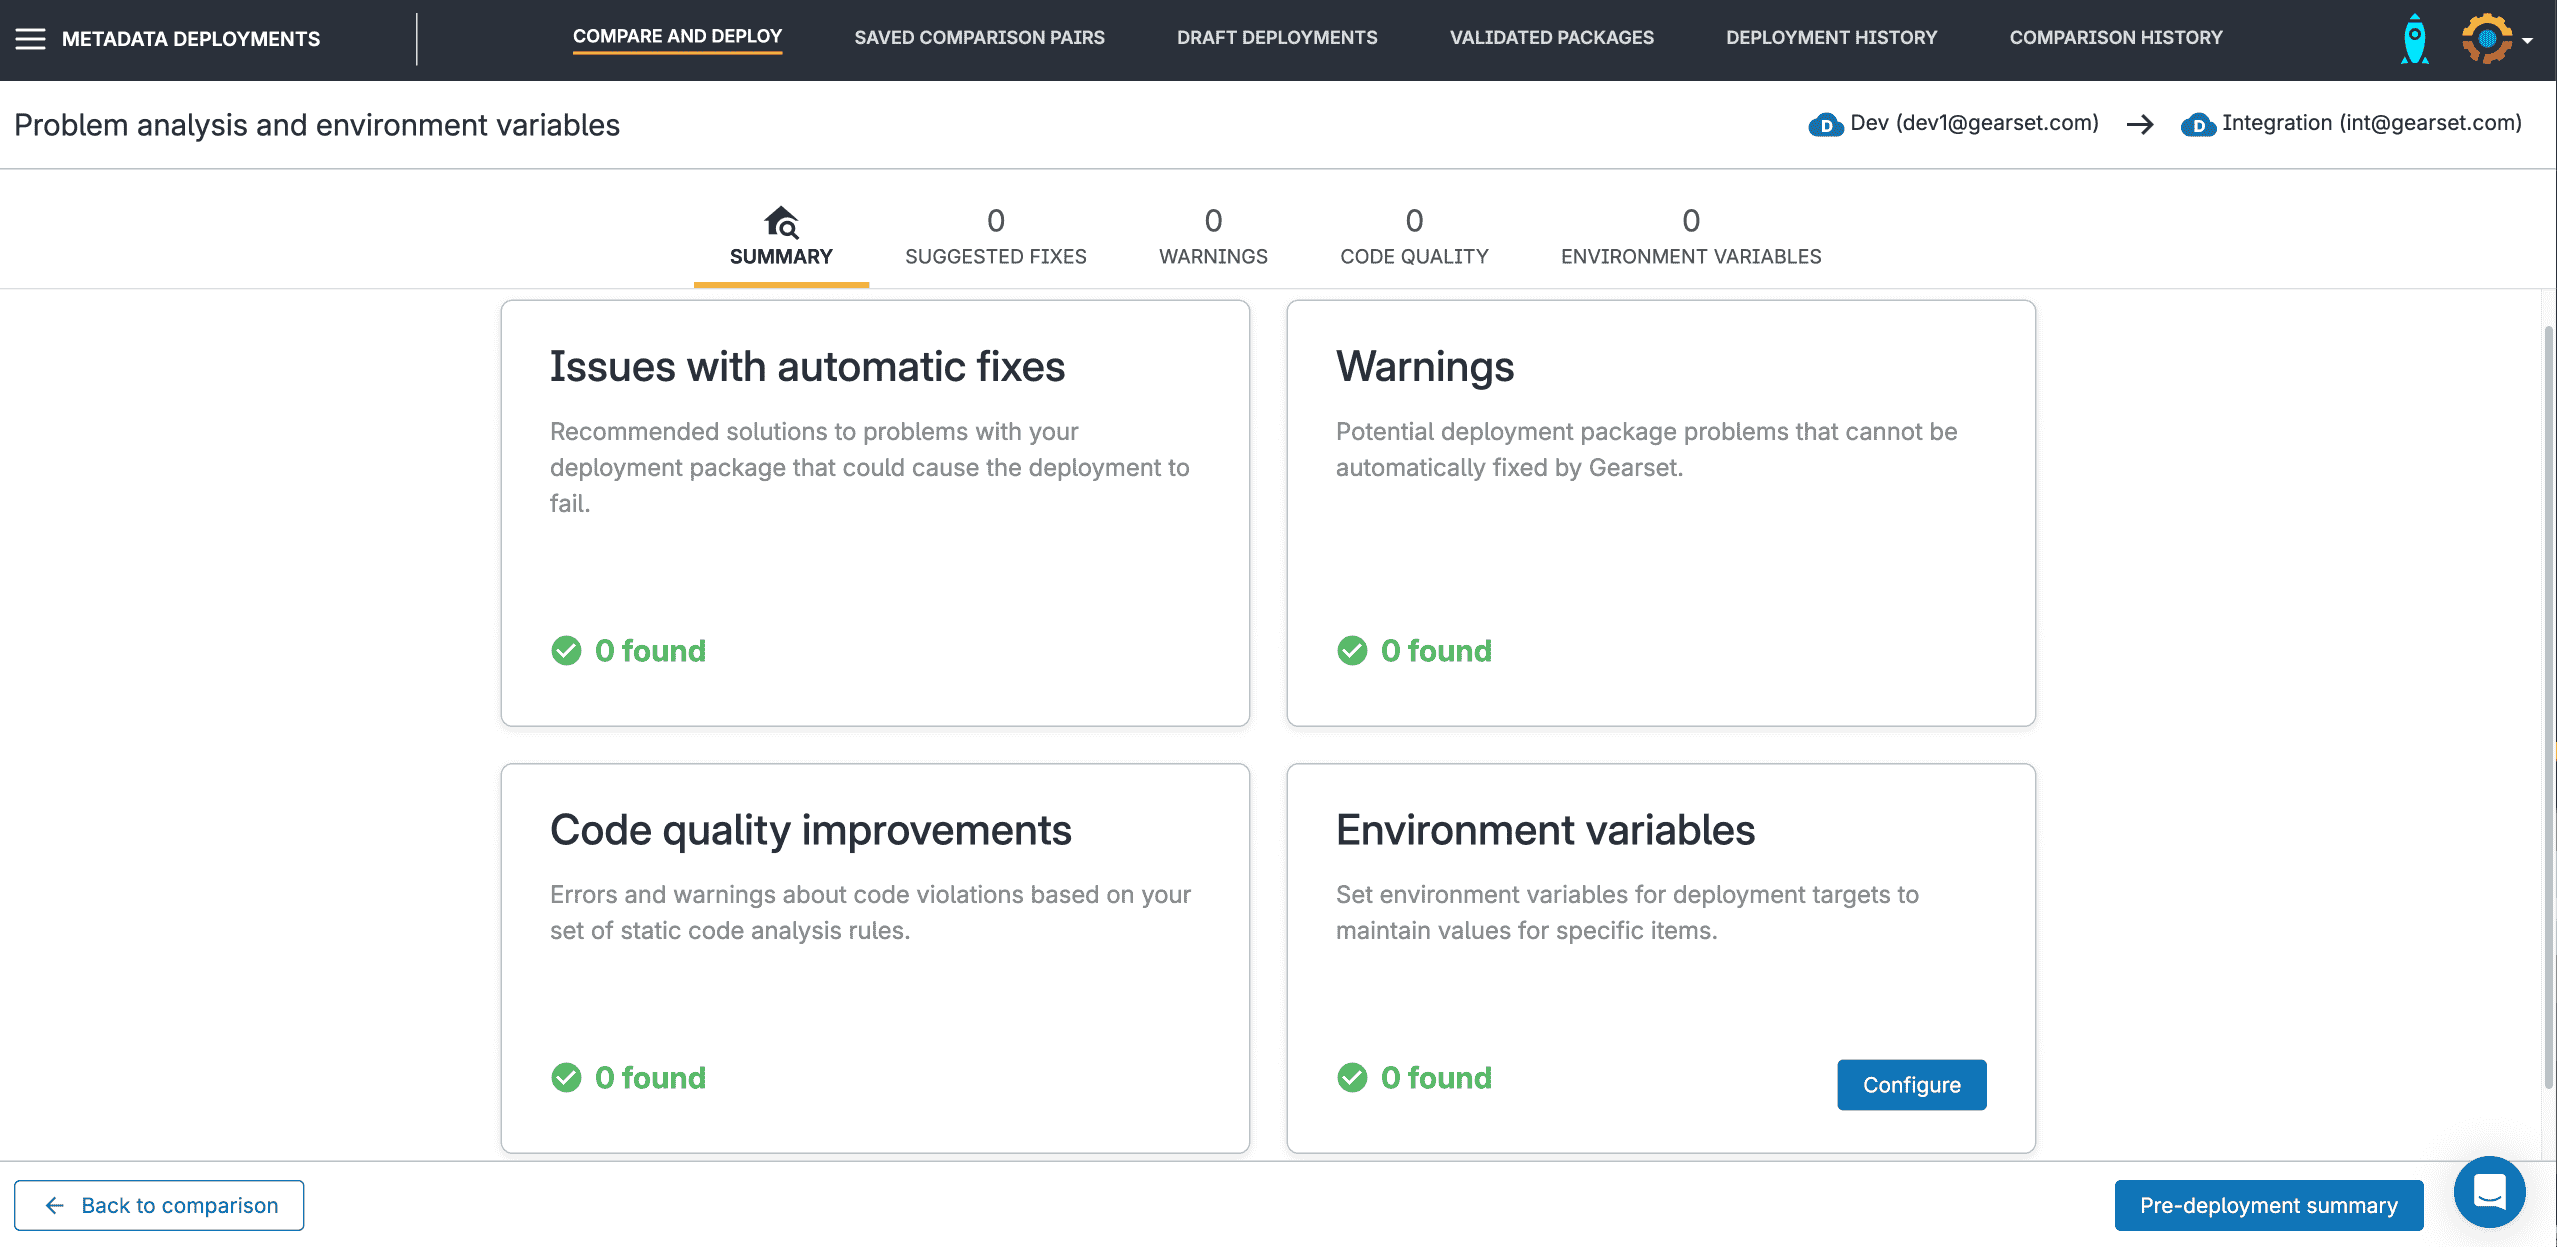
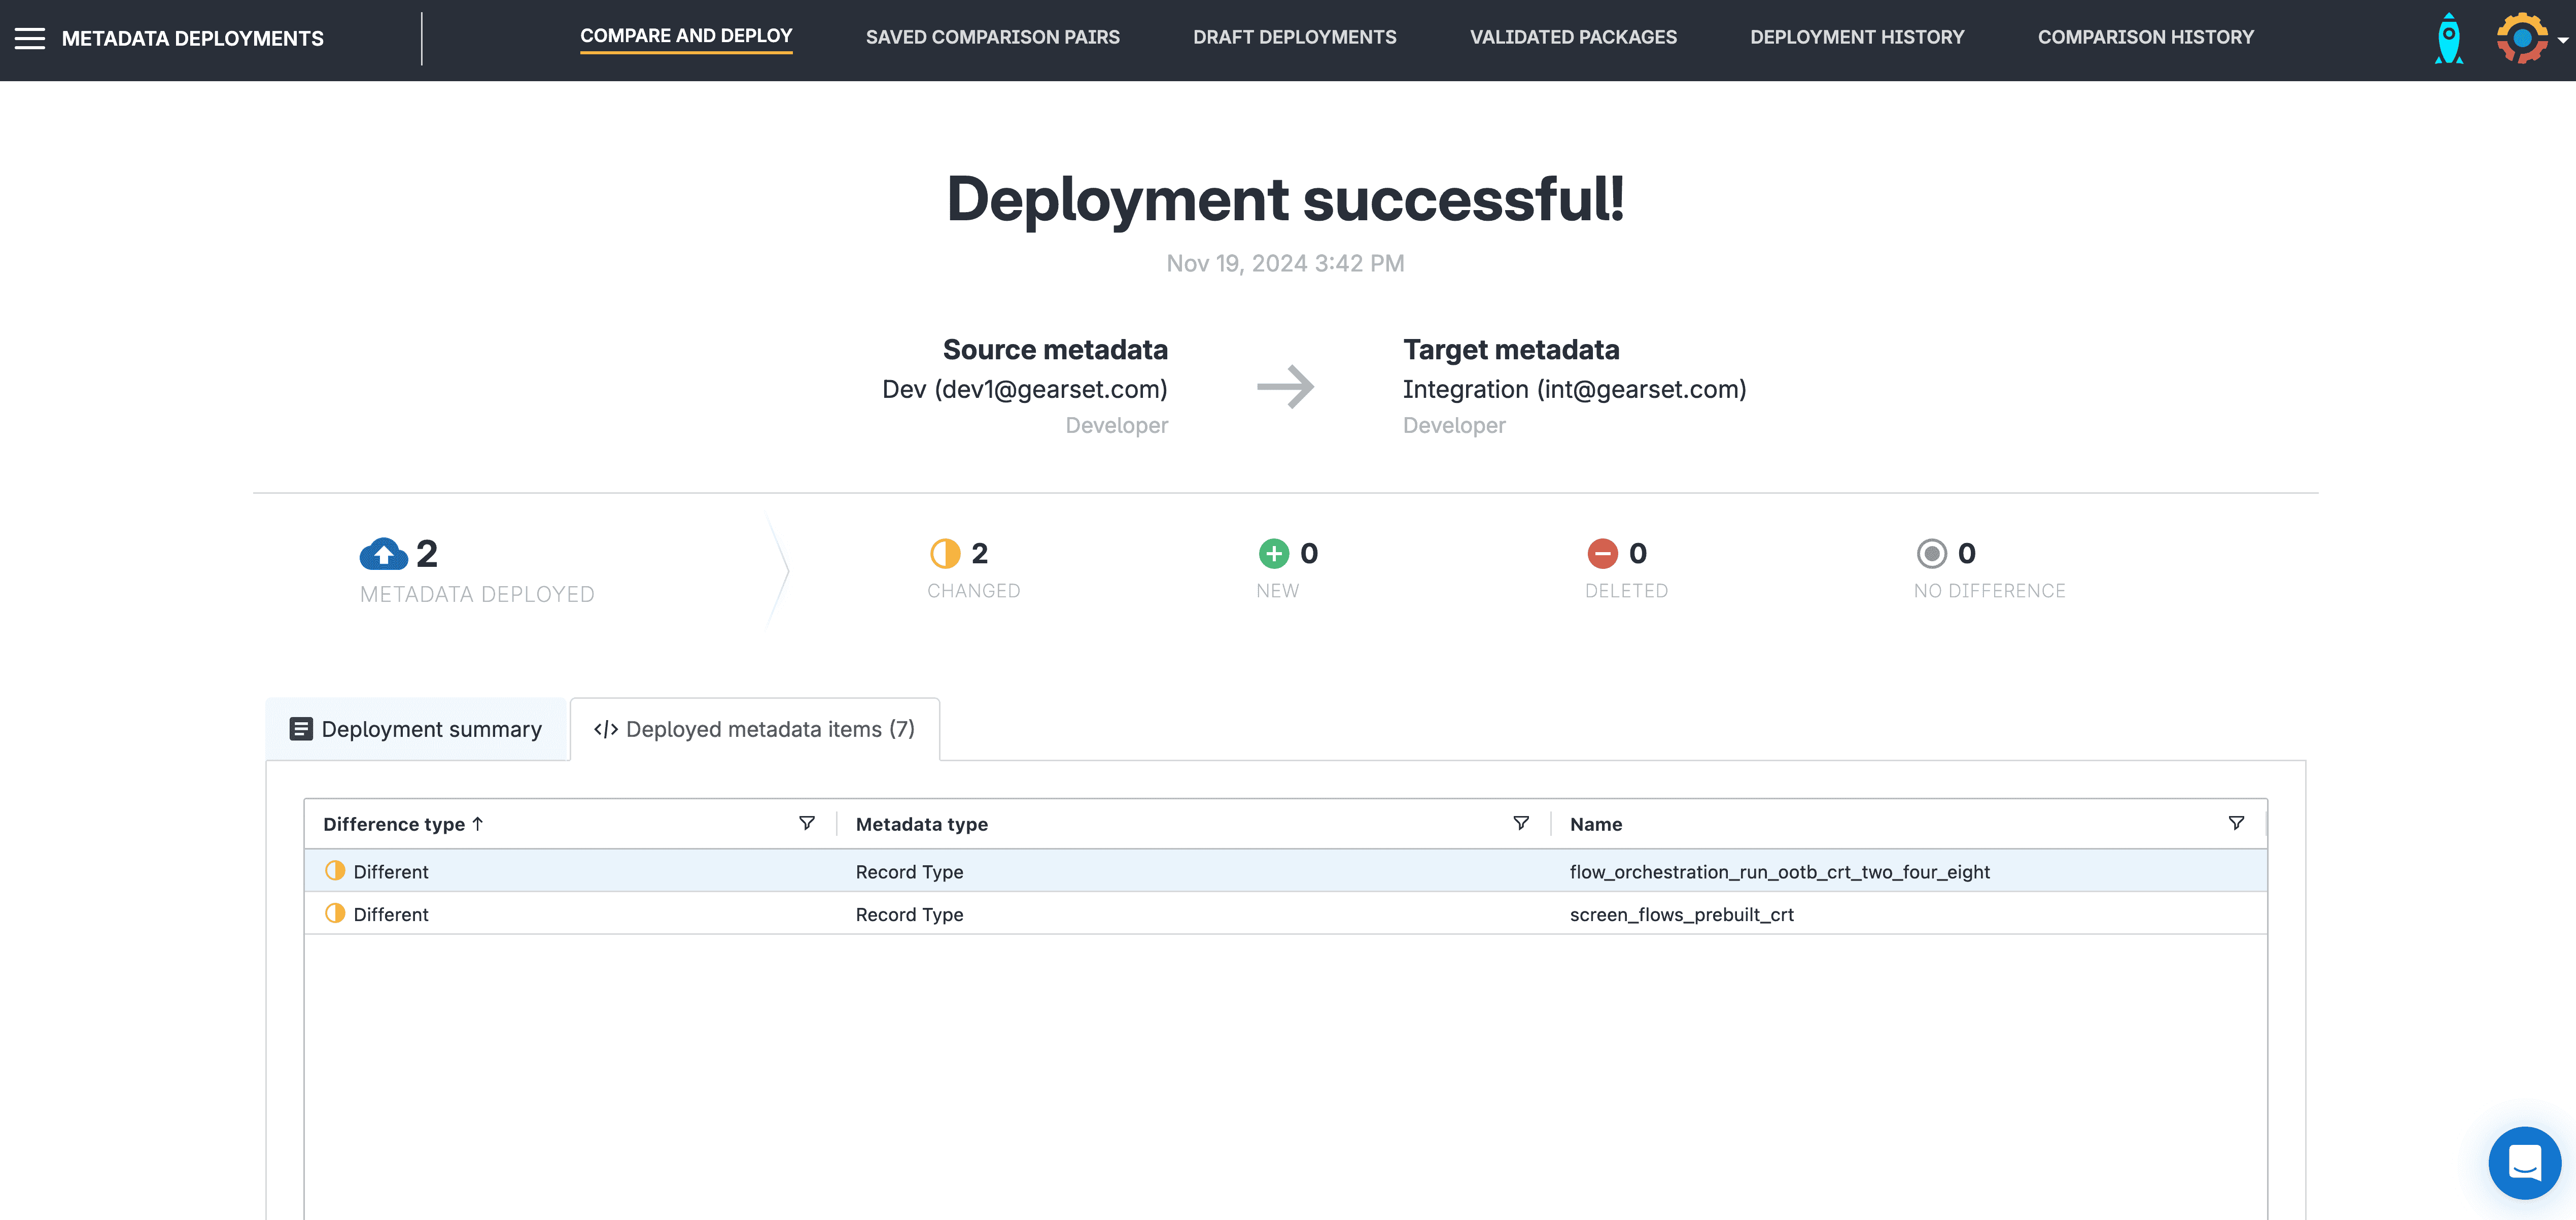
Click Pre-deployment summary and do a final check of the deployment package. You’re ready to hit Deploy now and release your report type to your target org!
Happy deploying!
While custom report types are easy to configure, it can be difficult to deploy them with all the correct dependencies and access controls that end users need to start creating reports. With Gearset’s Salesforce metadata deployment tool, you can deploy custom report types with confidence — and only move the precise changes that you need. Try it for yourself with a 30-day free trial!


