

With Gearset, managing the metadata in your version control system is ingeniously simple. Compare environments, create new branches and commit changes, all from within the app.
Branch management with Gearset
Gearset has always endeavoured to make Salesforce release management easy. From comparing your Salesforce orgs and version control repositories to see the differences, to deploying changes to get them in sync, Gearset helps teams of all experience levels deploy more effectively.
A common challenge with version control is branch management. As we discussed in our whitepaper on git-based development, every new feature or change should be made in a feature branch in the repository. This allows teams to work in parallel without stepping on toes, while providing a clear audit trail of development. But for many users, creating branches and committing those changes through the UI of the version control system is an unfamiliar process which can be prone to mistakes.
Gearset makes branch management quick and easy. When comparing to a version control repository, select an existing branch from the dropdown, or simply create a new one.
Standardizing Salesforce delivery in Manufacturing: Lessons from a release team
Create a new branch in just a few clicks
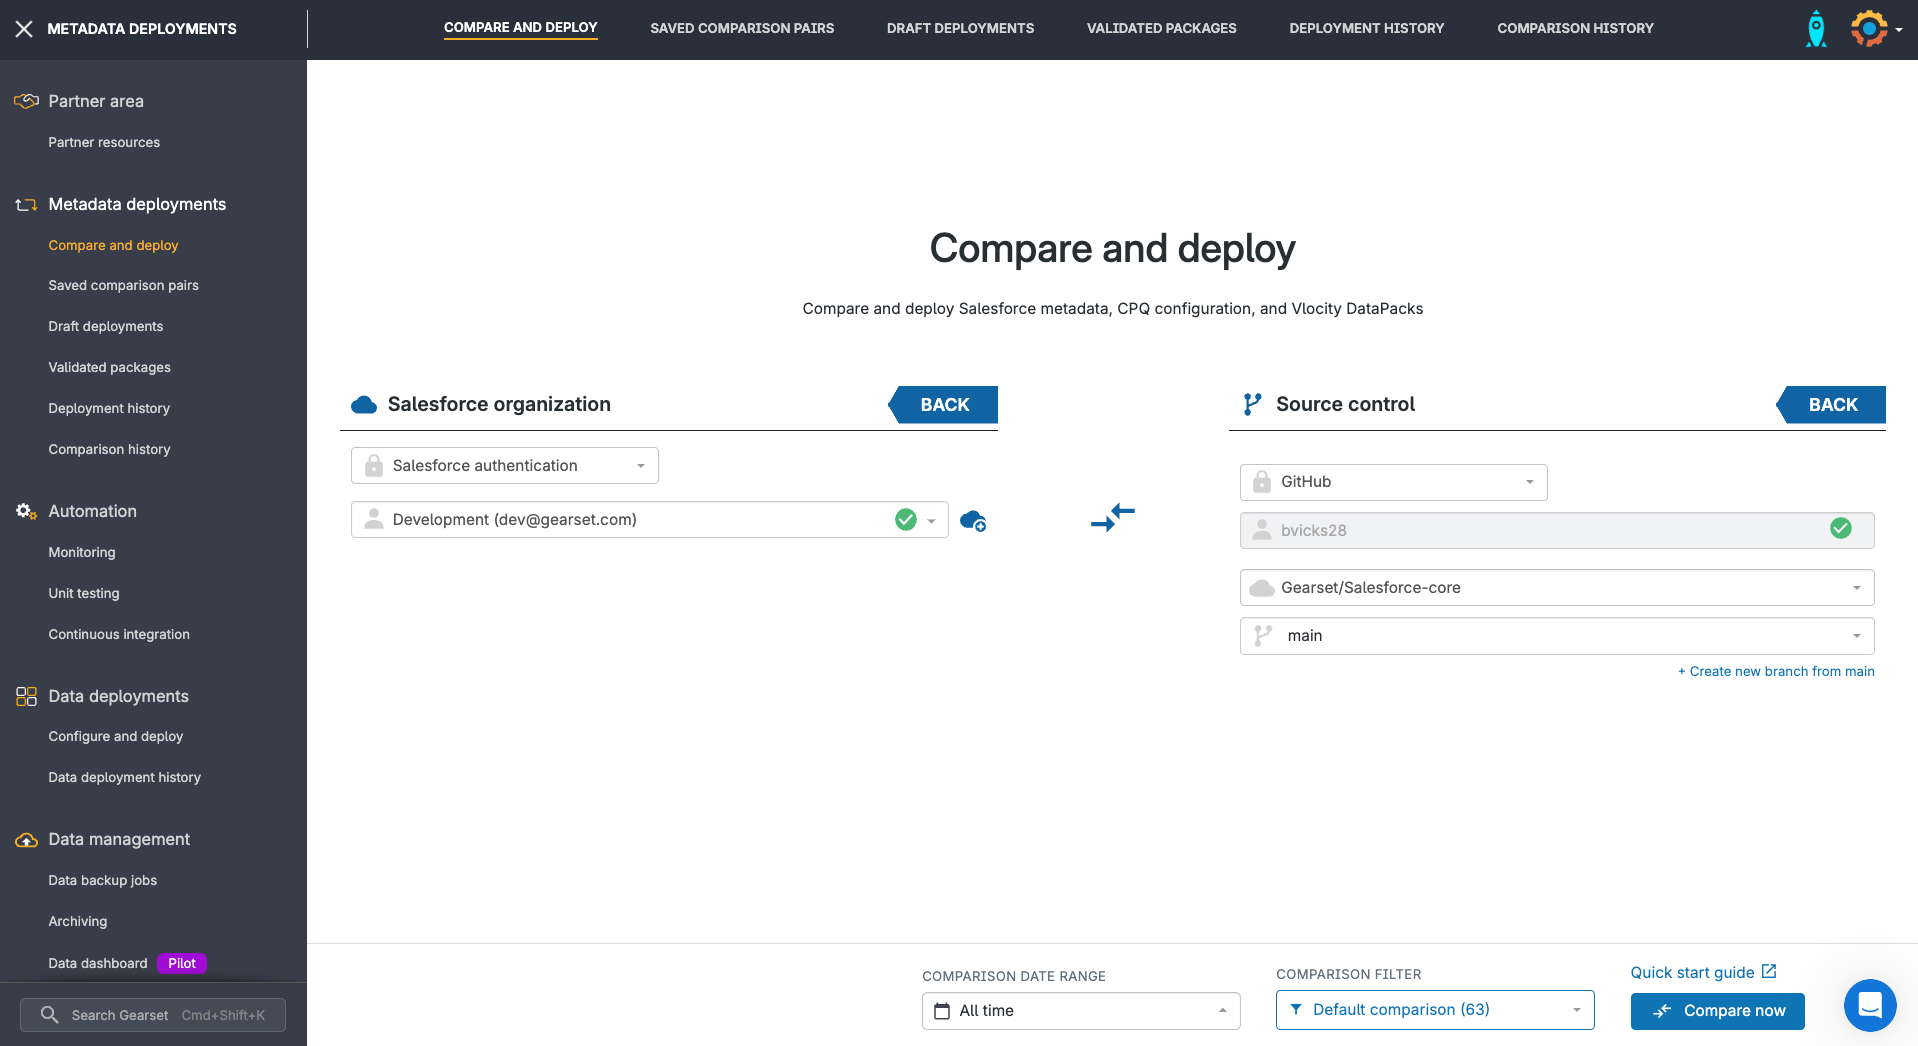
Navigate to the Compare and Deploy page within Gearset and choose your source metadata location.
Select source control as your target metadata location and choose one of your connected source control providers, such as GitHub. Next, select the repository you wish to connect to and pick a branch from the dropdown.
If you want to create a new branch to deploy changes to, simply select the branch you want to use as the baseline and click Create new branch from…. In the example below we’re using “main” as the baseline for our new branch.
Give your new branch a descriptive name, like “new-branch-name” as shown in the example below, and click Create branch.
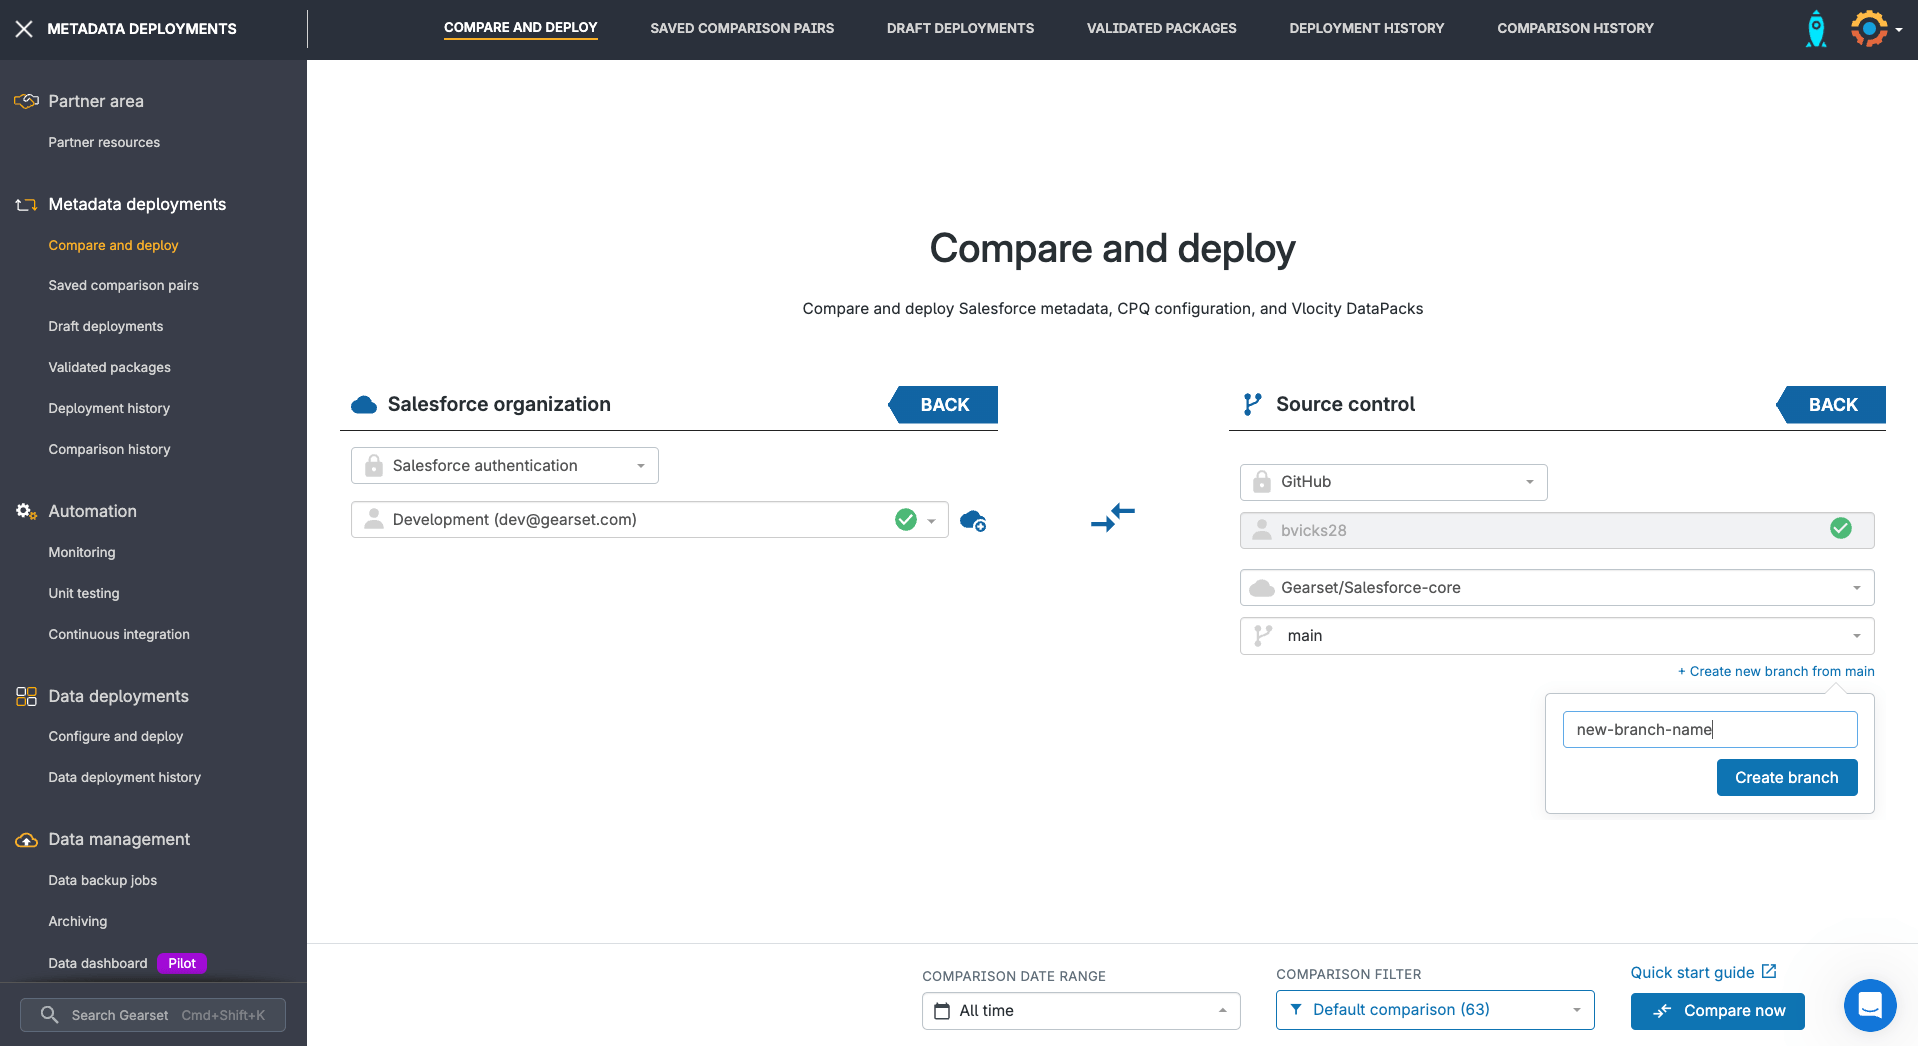
Gearset will now create the branch in your repository and select the branch as your target metadata location. To compare the changes and commit them to your new branch, click Compare now and continue through the usual deployment process with Gearset.

Experience easy branch management today
With these simple steps, Gearset makes it easy to create branches and to manage version control, all from within the app. Try it out yourself — start your free 30-day trial of Gearset today. And you can learn more about version control in our whitepaper.
